
Complete the setup guide
The setup guide is tecpet’s first-use script. In 16 steps split into 4 sections it covers everything the shop has to get ready before operating: from the admin password to the first paid booking. Each step opens an interactive guide that highlights, on the system screen itself, where to click and what to fill in, and only unlocks the next one when the previous is finished. The guide is not a welcome ornament: it feeds the rest of the system. Opening hours and staff define which slots the calendar offers; categories and services define what Petbot can sell on WhatsApp; billing parameters define the price the client sees. That is why, while the guide is below 100%, the account stays inside it: any other screen sends you back to the guide.
Step 1: Open the setup guide
Section titled “Step 1: Open the setup guide”There are three ways in, all leading to the same screen:
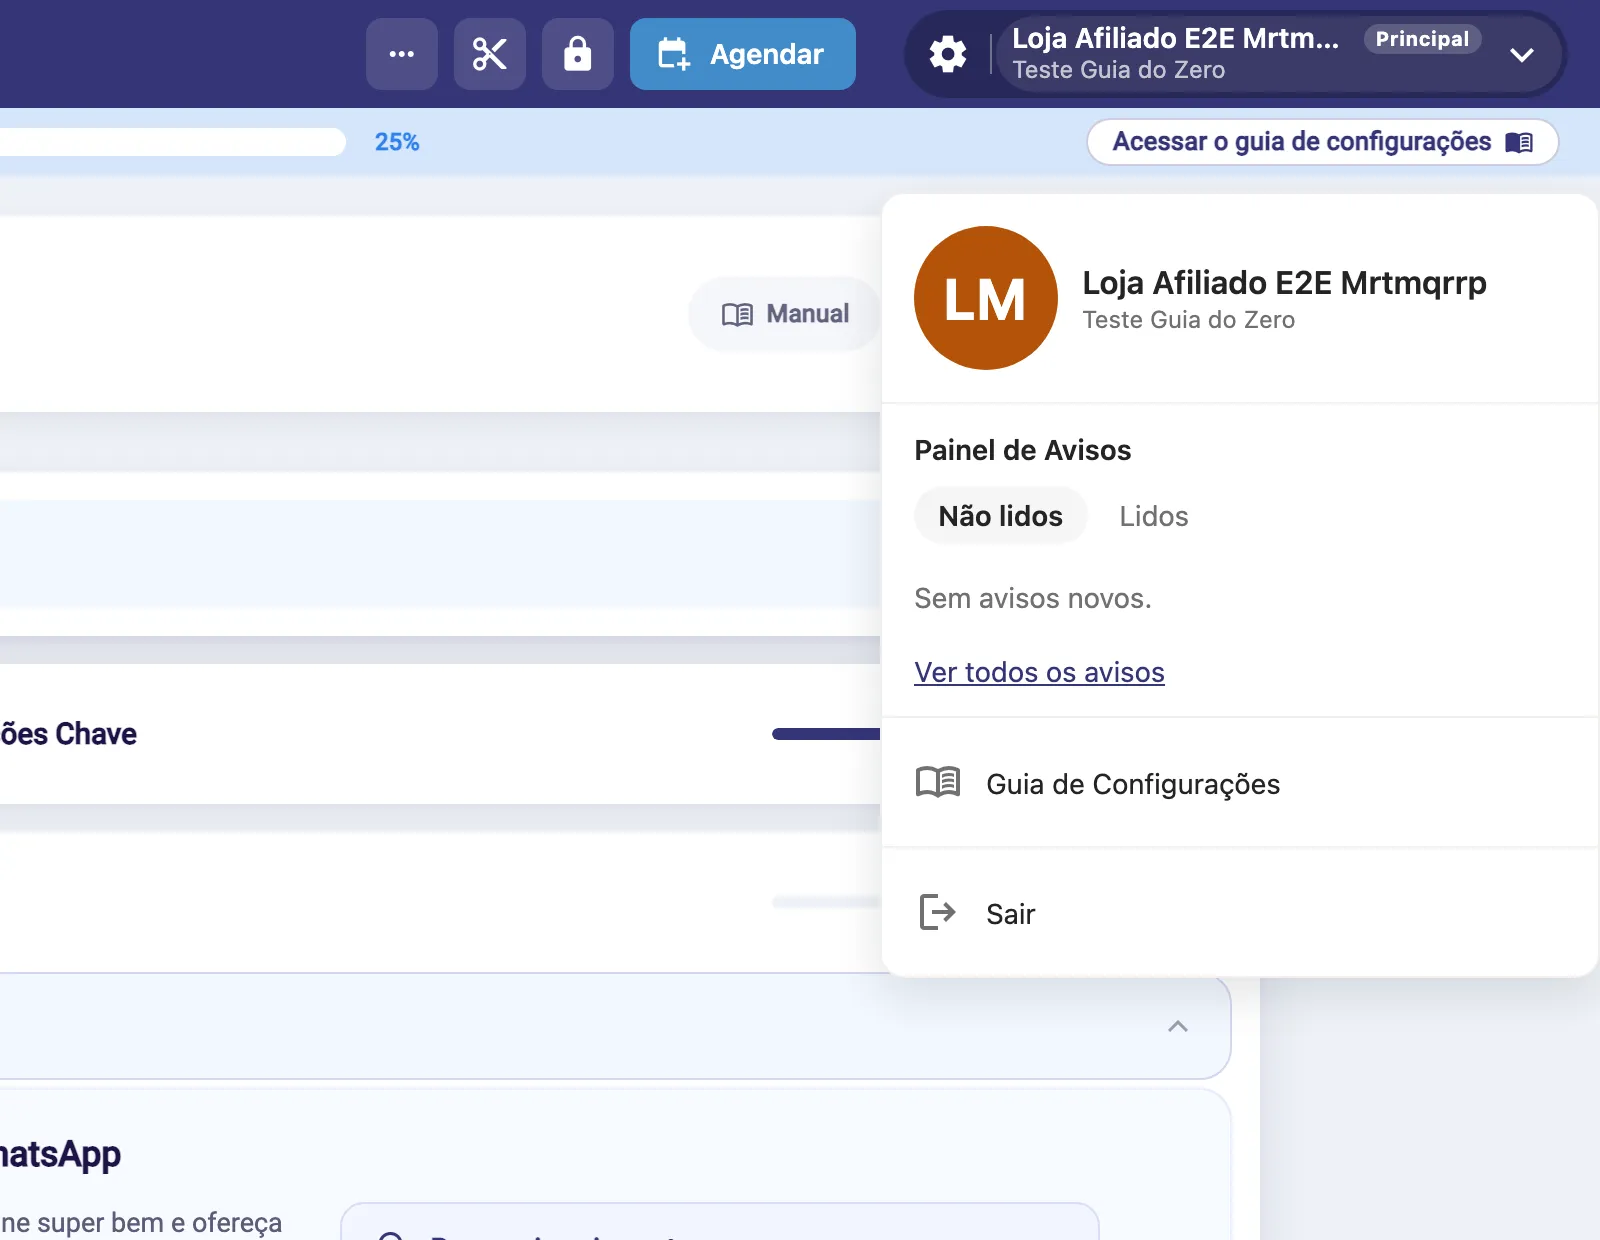
- the blue Setup guide progress strip, right below the top bar while the guide is not at 100%, on the Open the setup guide button;
- the account menu, in the capsule with the shop name on the right of the top bar, item Setup guide;
- simply logging in: while the guide is not finished, the account lands on it by itself.
What the guide screen shows
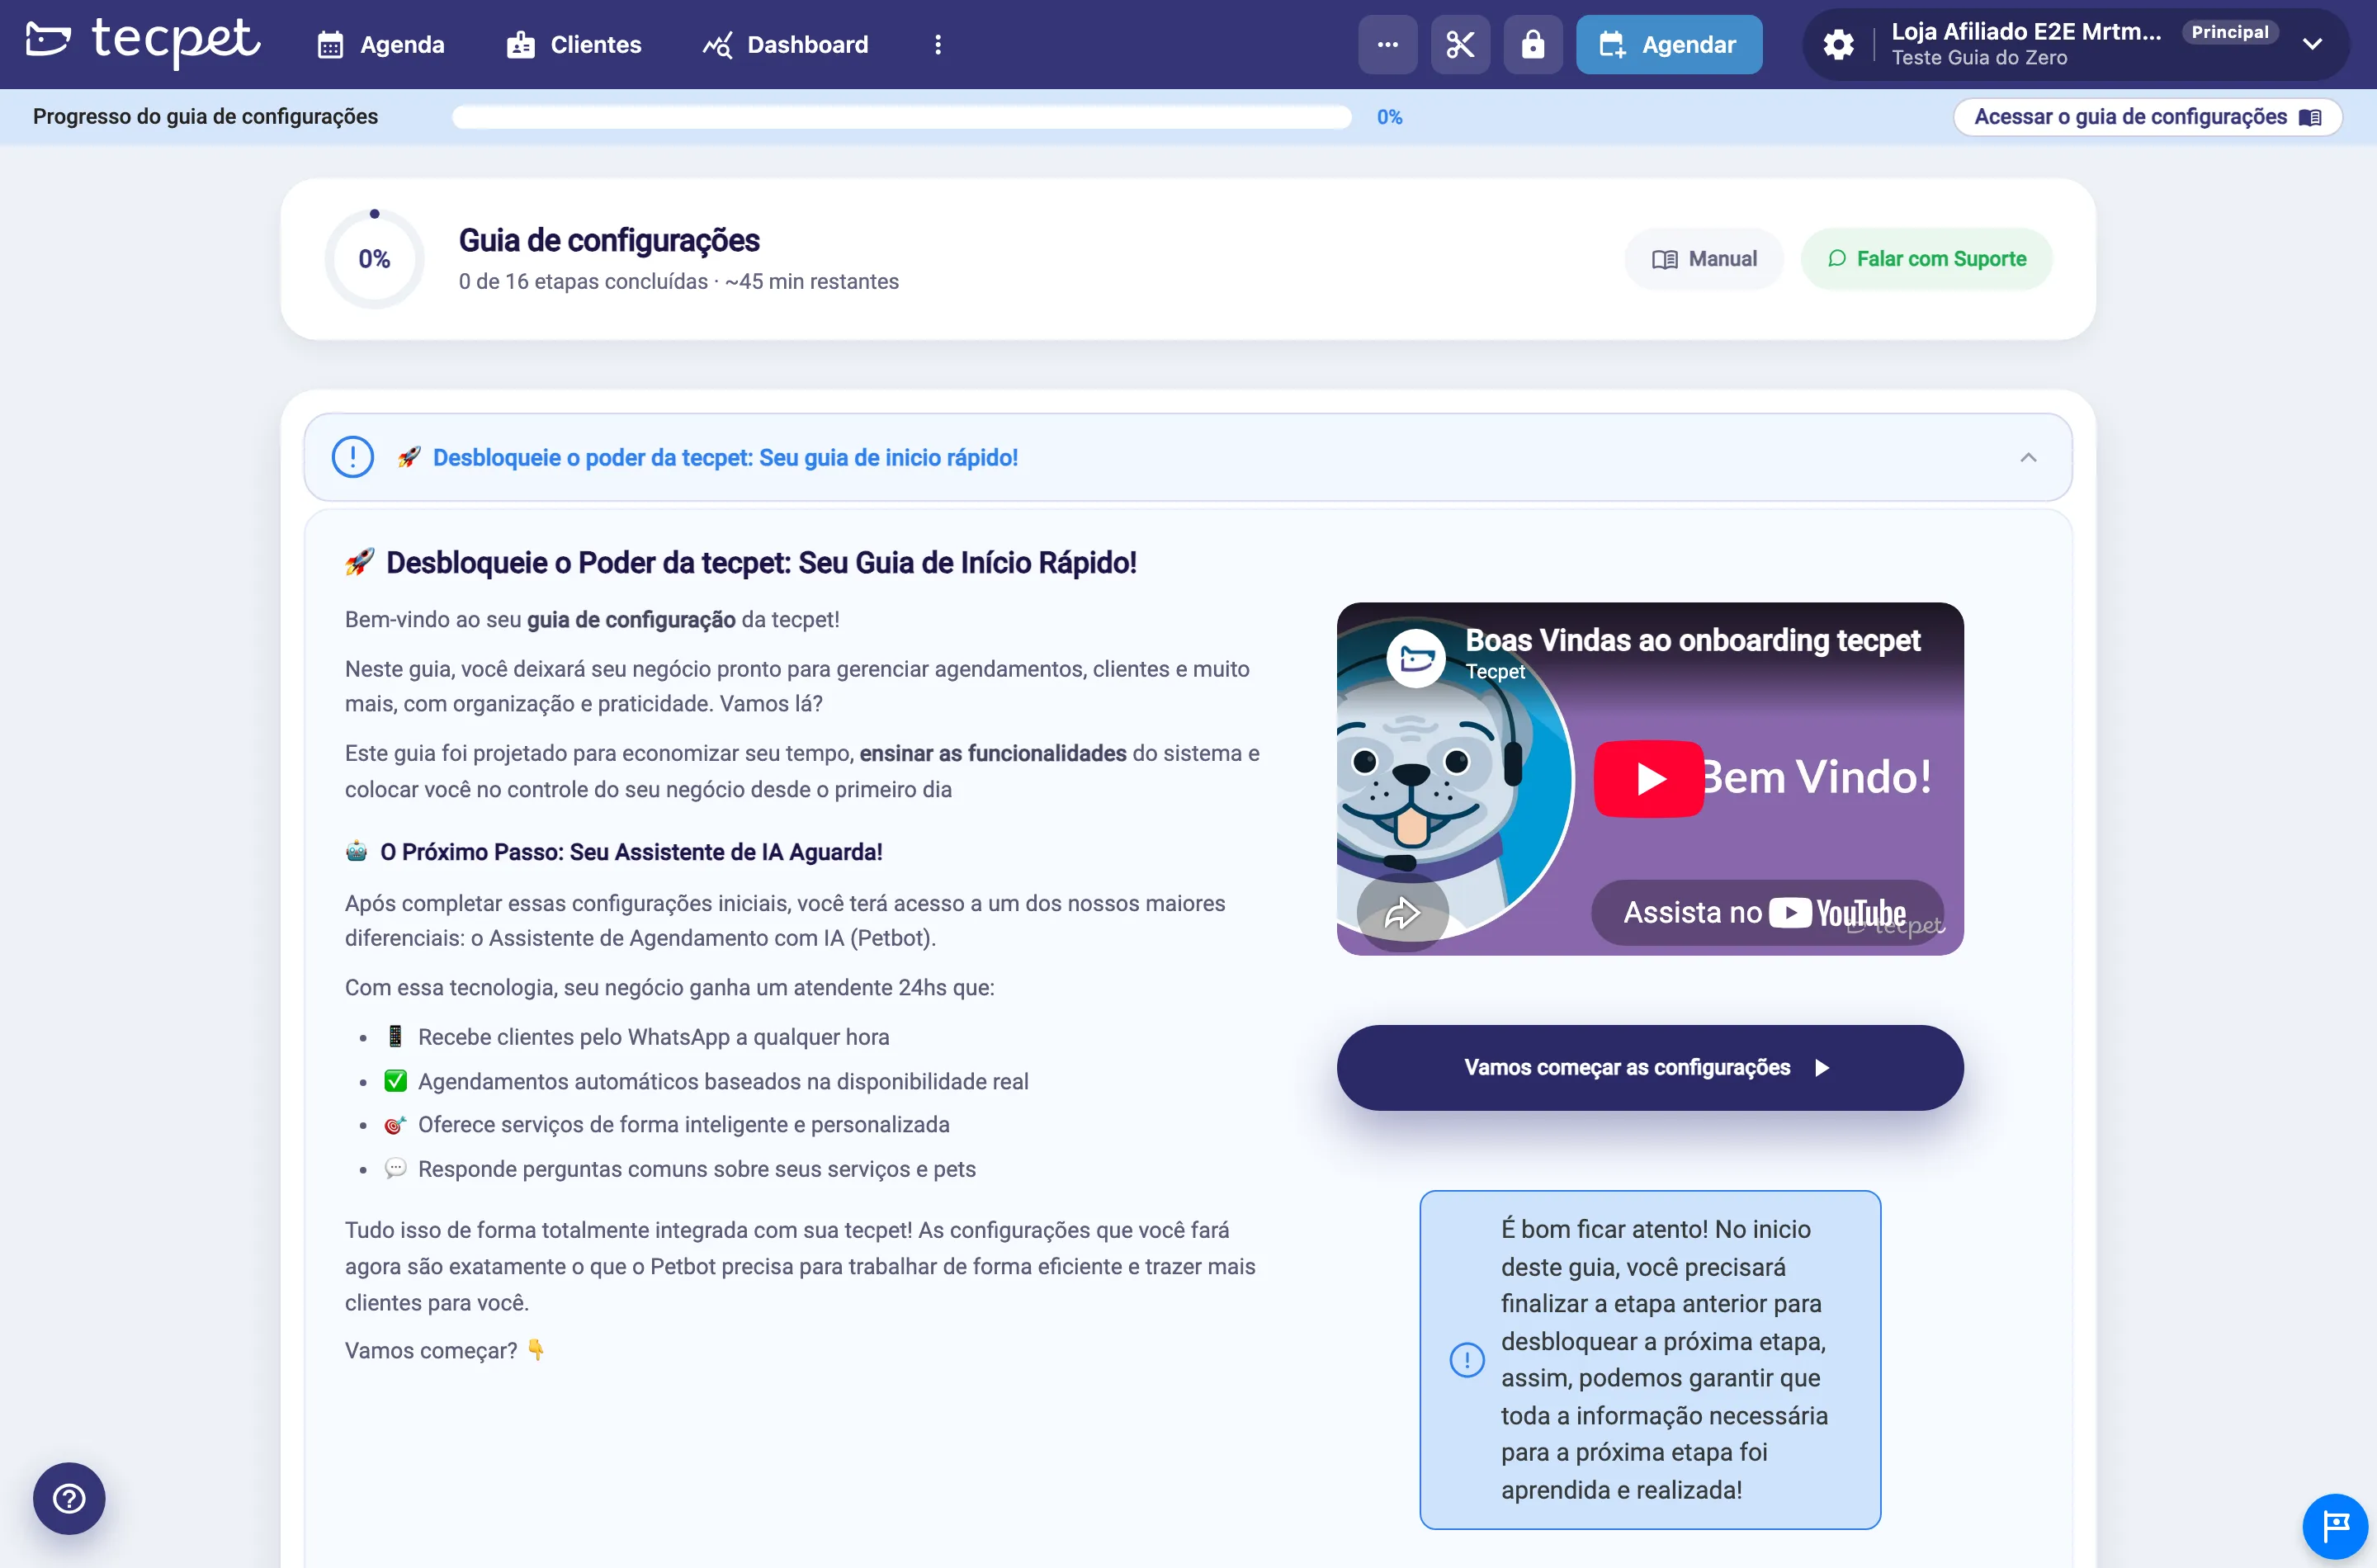
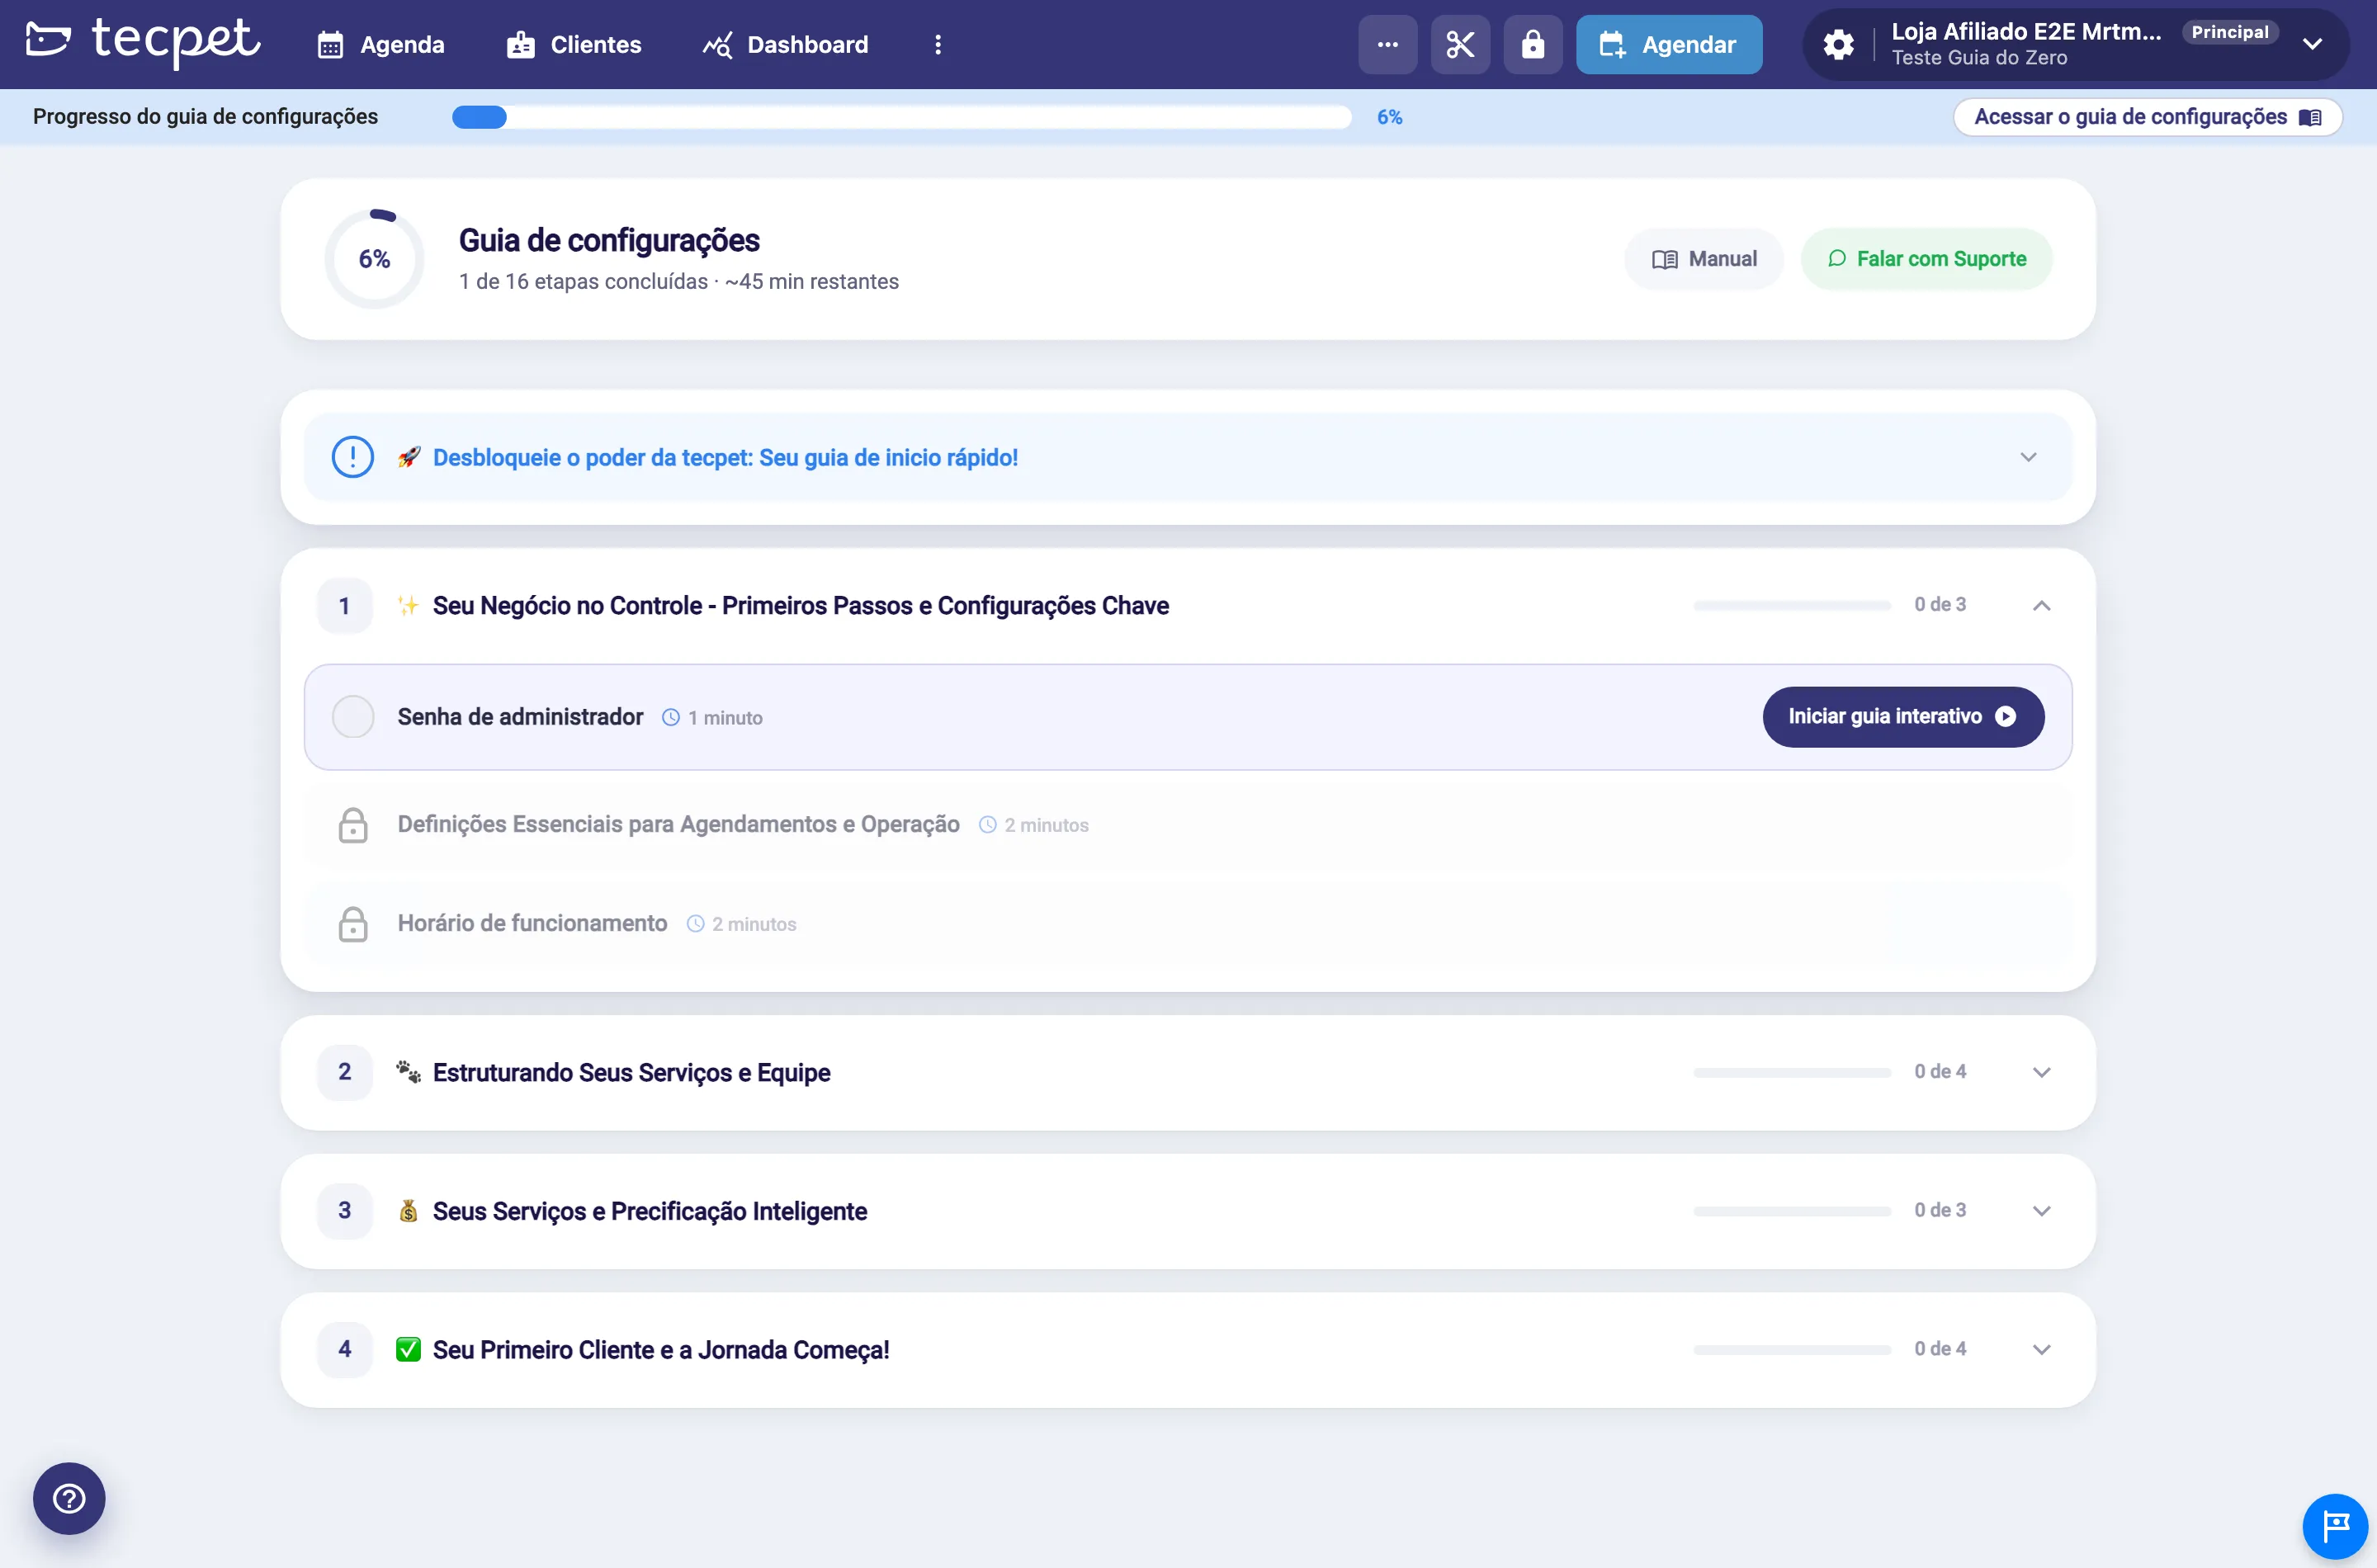
Section titled “What the guide screen shows”The top carries the progress ring with the percentage, the X of 16 steps completed count, the estimated time left, and the Manual (opens this Help Center) and Talk to Support buttons. Below comes the list of sections, with the first step already open.
Step 2: Read the welcome and click Let’s start
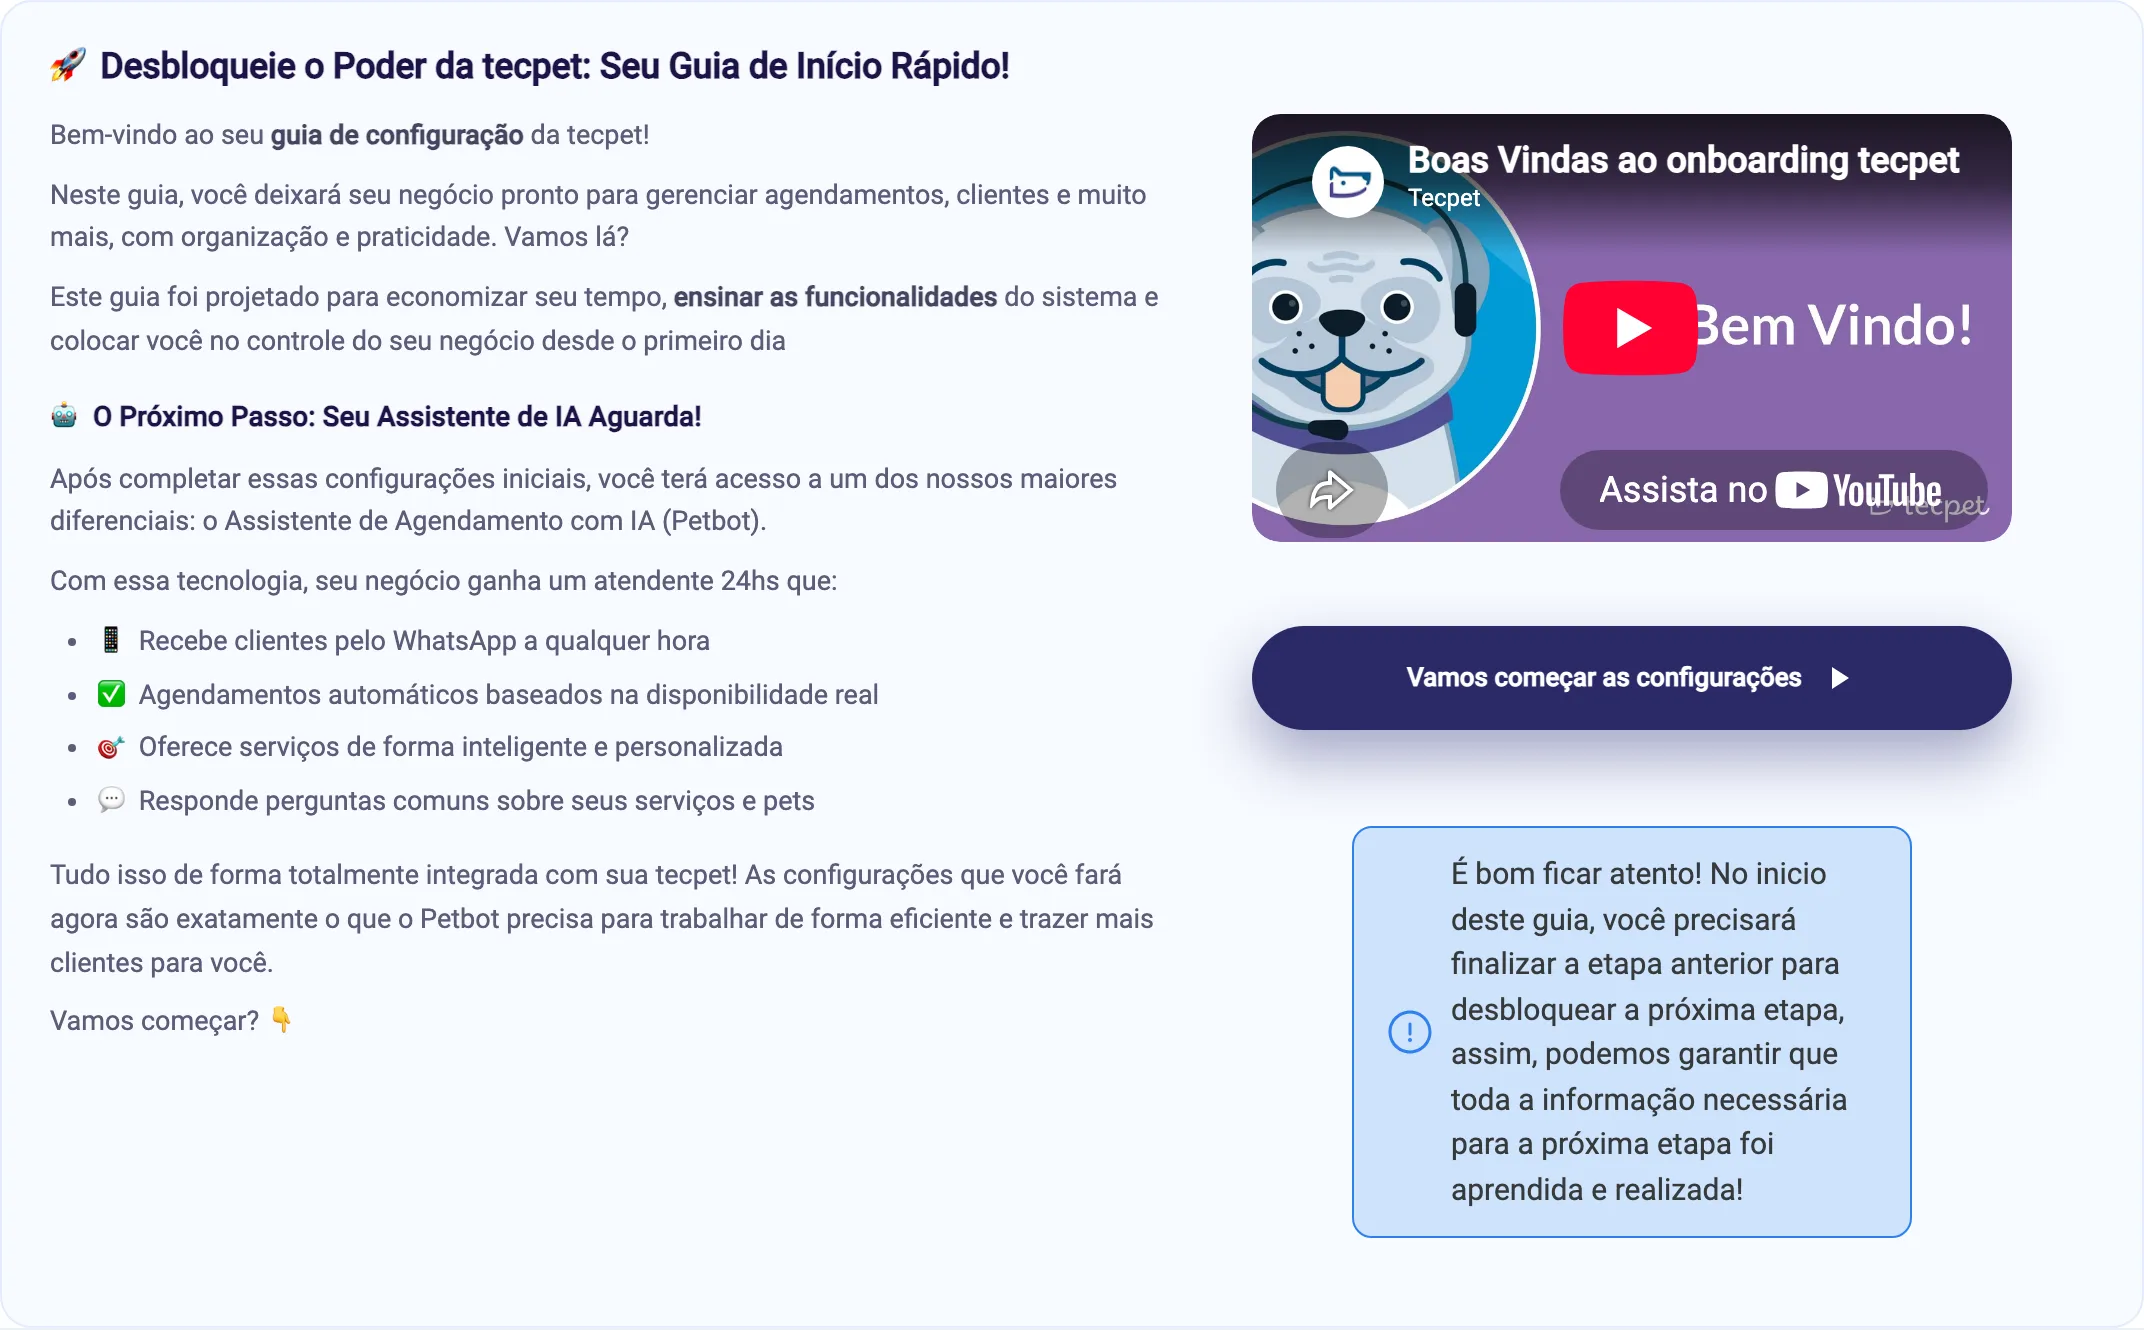
Section titled “Step 2: Read the welcome and click Let’s start”The first step, Unlock the power of tecpet, is informative: it opens no settings, it only explains what is coming and brings a short intro video. Click Let’s start the setup to mark it as done and unlock section 1.
Informative steps are recognizable by the blue info icon and because they open their content inside the list when clicked. Every other step carries the Start interactive guide button.
Step 3: Run each step through the interactive guide
Section titled “Step 3: Run each step through the interactive guide”The list shows the numbered sections, each with its own progress bar and an X of N count. The section you are on stays open; the others are collapsed and open on click.
Inside the section each step shows its name and estimated time. On each one:
- Start interactive guide: takes you to the right screen and highlights, step by step, the field you have to touch. When it ends, the step is marked as done by itself and the next one unlocks;
- padlock: the step still depends on the previous one. The button is disabled and the tooltip says Step locked. Finish the previous ones to unlock;
- green circle: step already finished.
What a running interactive guide looks like
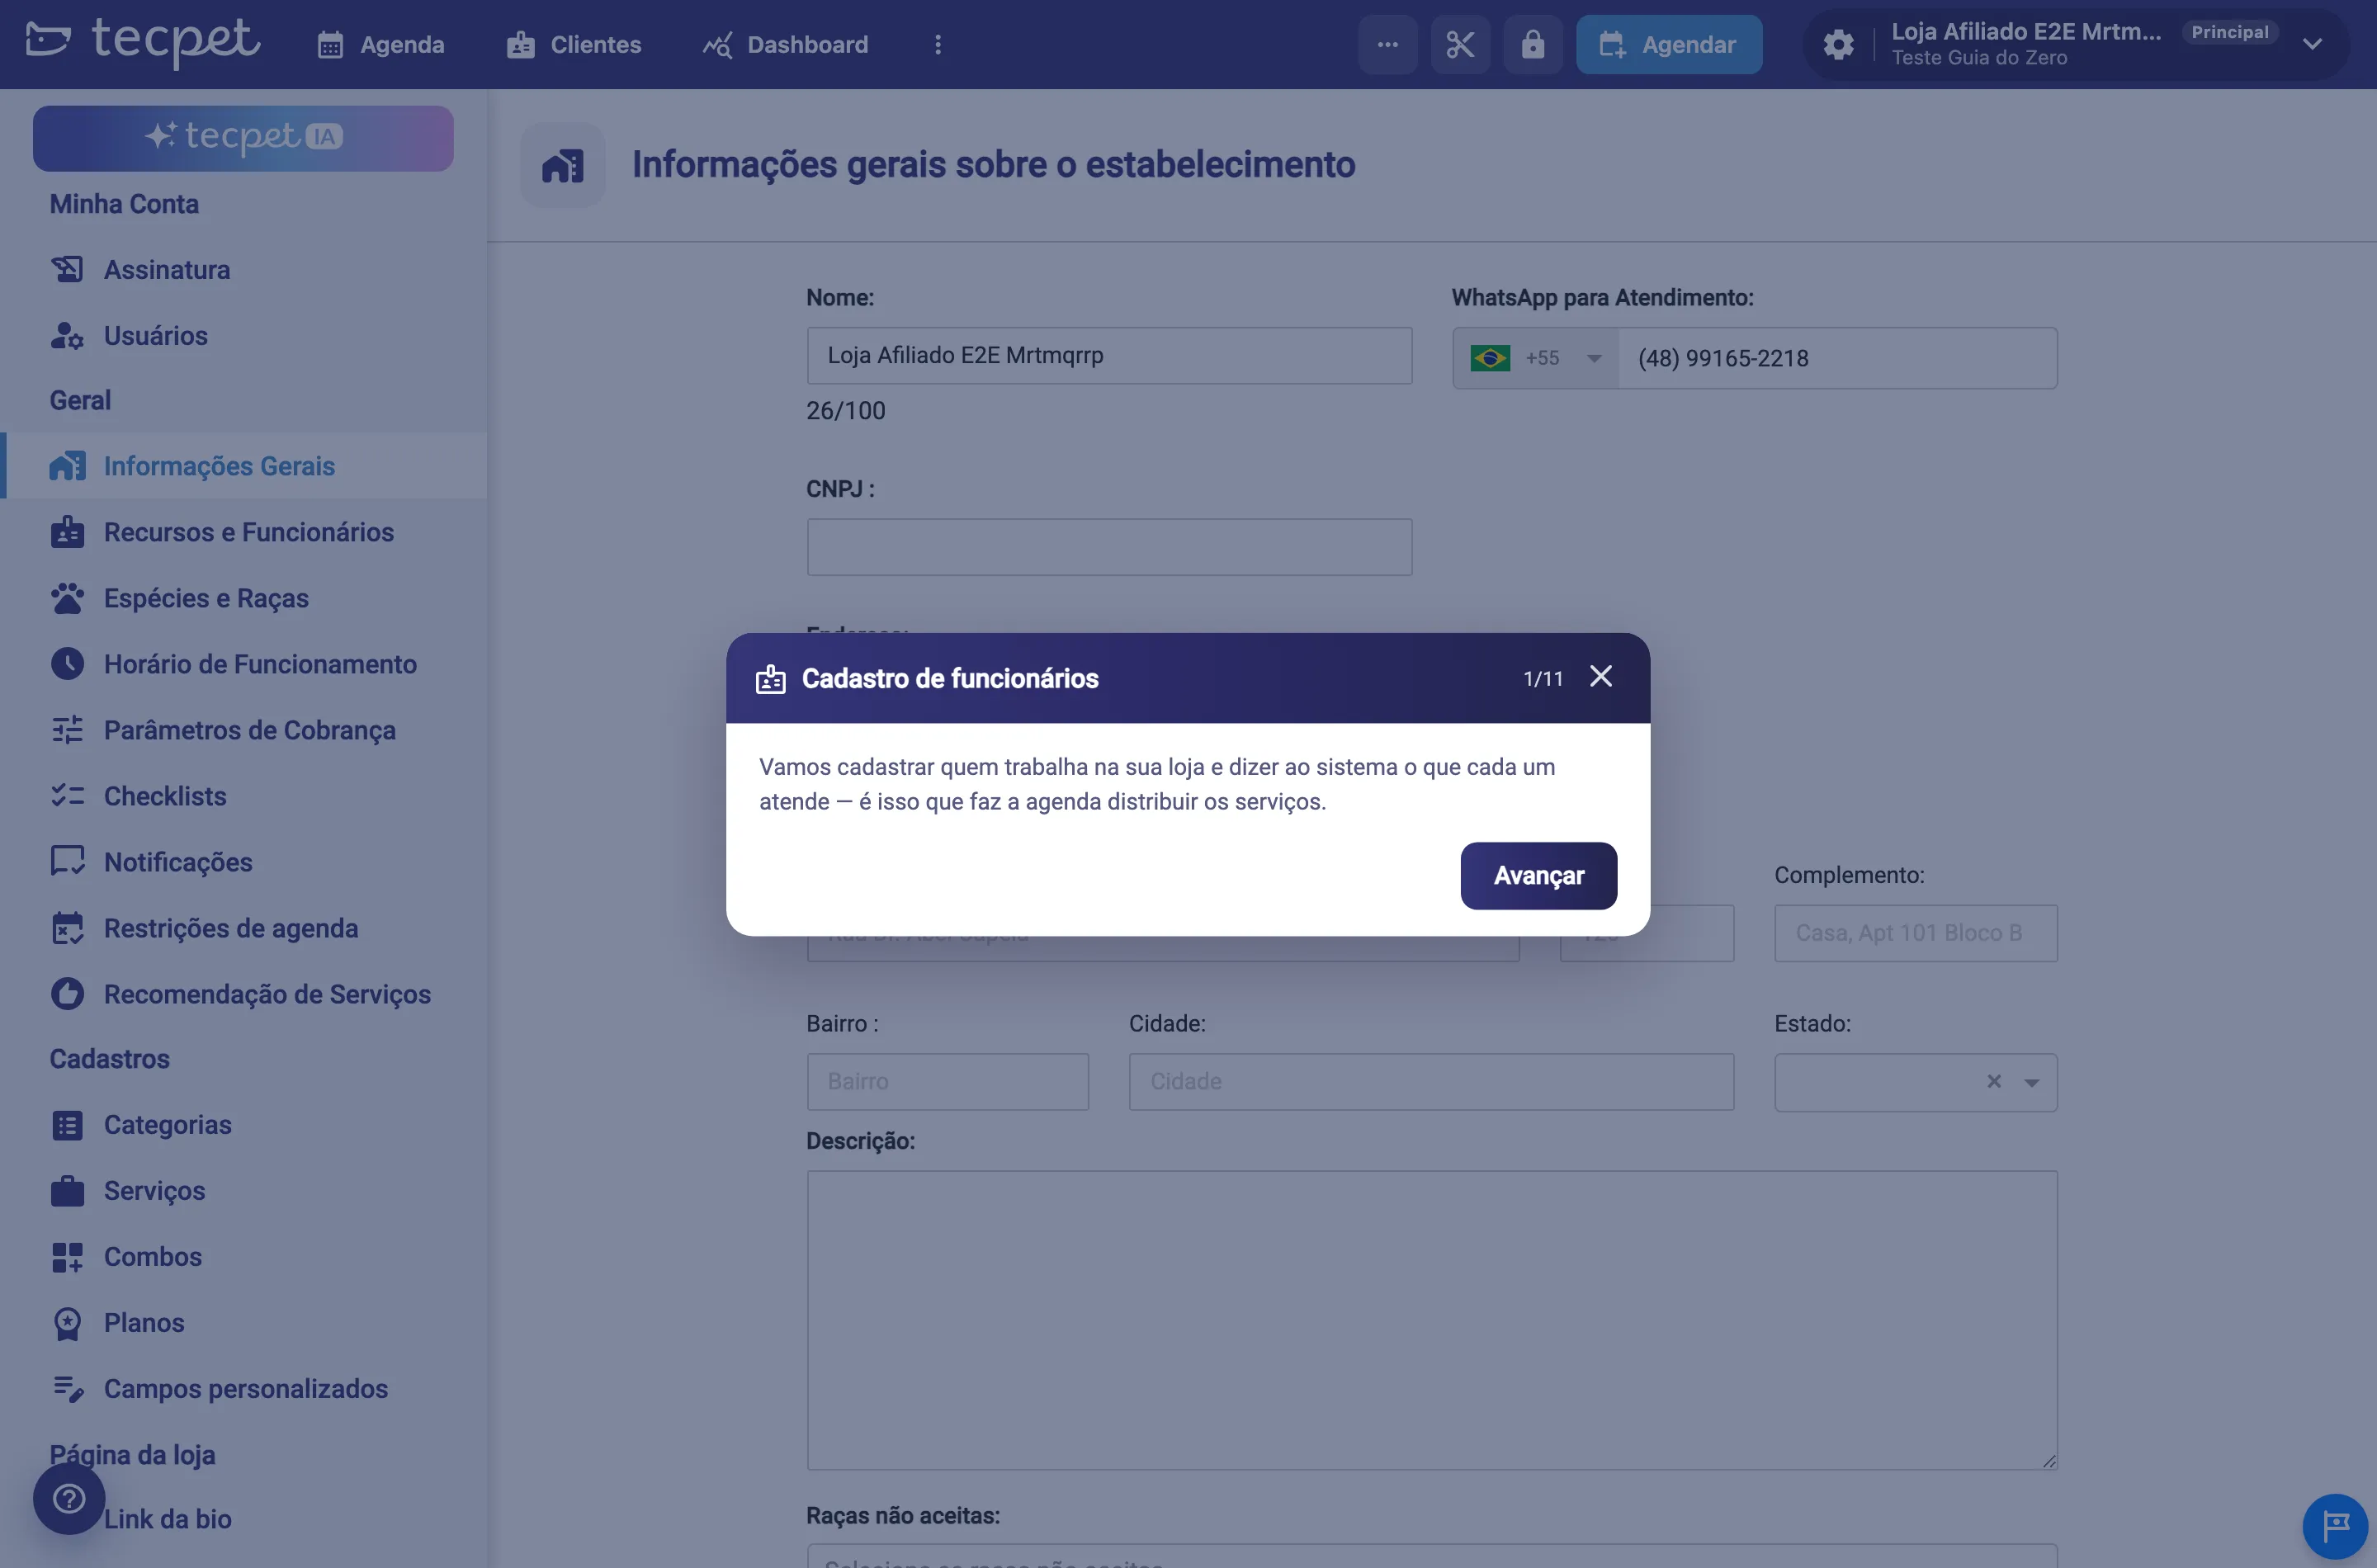
Section titled “What a running interactive guide looks like”It is worth a close look, because this is where most of those 45 minutes go. When you click Start interactive guide on the Staff registration step, tecpet opens the right screen and shows the guide’s first card: the step name, the counter (1/11, how many cards it has), a summary of what you are about to do and the Next button. The X in the corner closes the guide at any time, without losing what you already finished.
The guide points and waits for your click
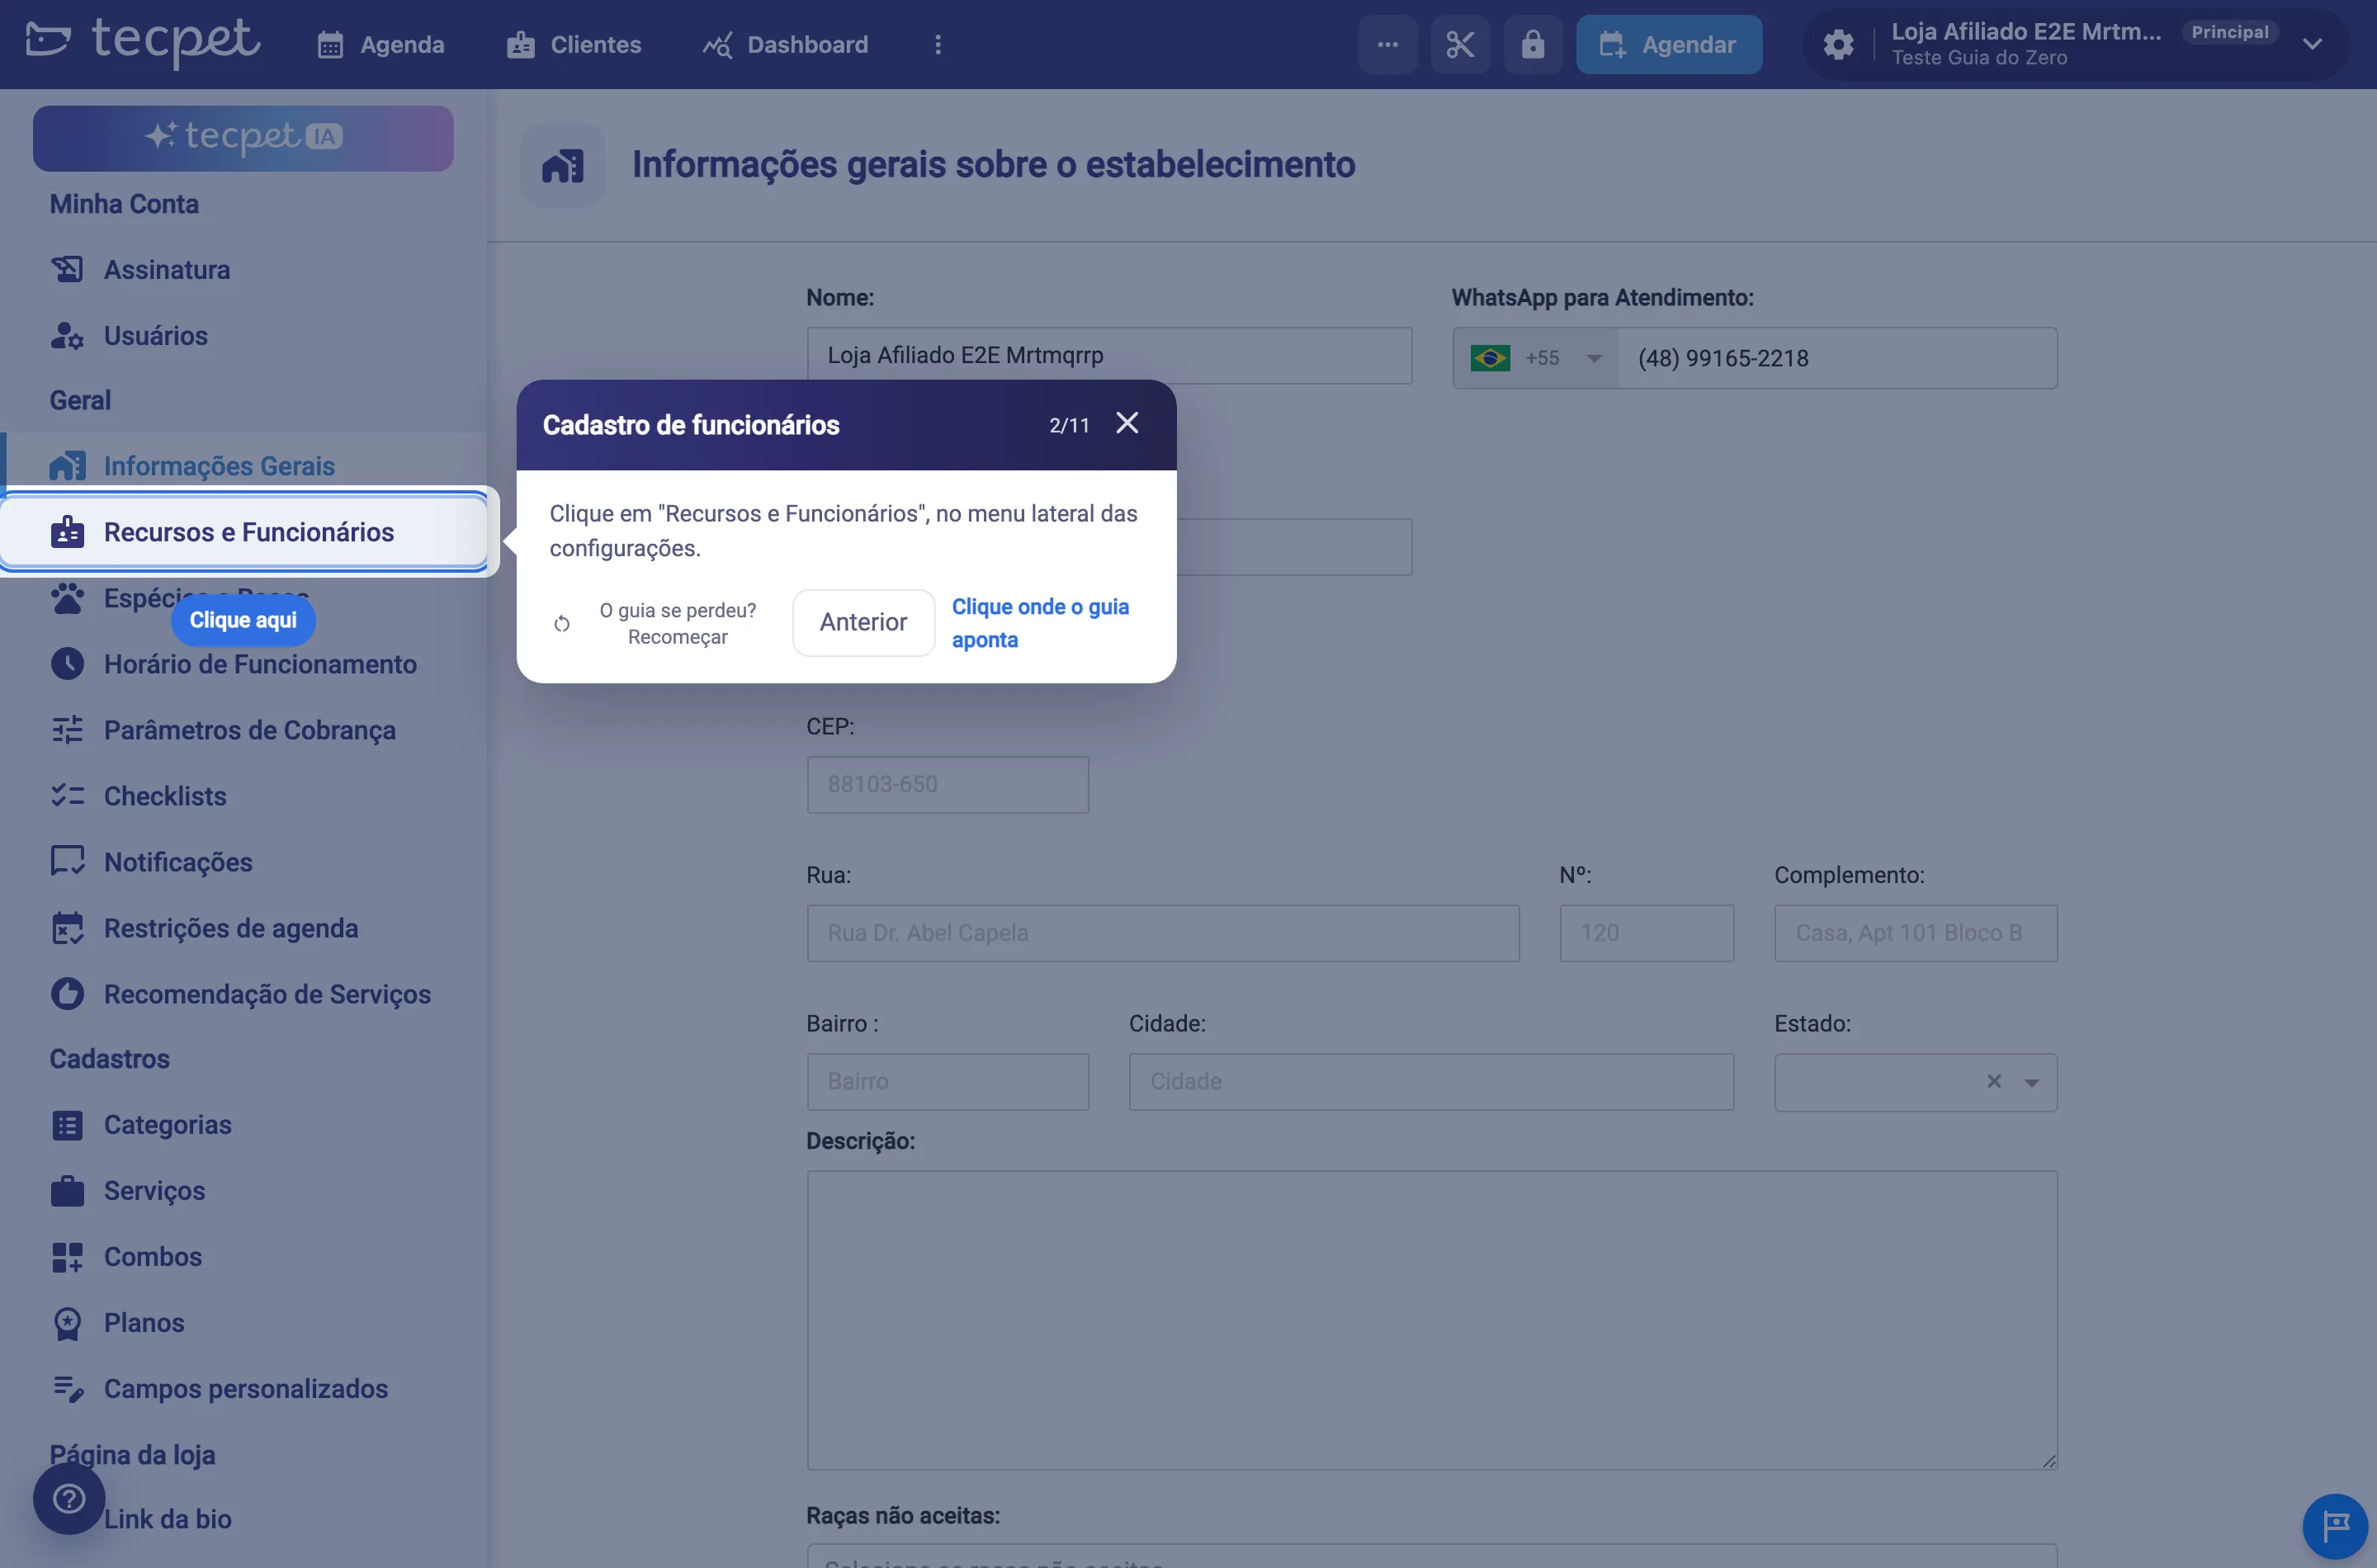
Section titled “The guide points and waits for your click”When a step asks for an action, the guide dims the rest of the screen and keeps lit only the spot you have to touch, with the blue Click here tag stuck to it: here, the Resources and staff item on the side menu. In the footer the Next button disappears and the notice Click where the guide points takes its place, because it neither advances by itself nor does the action for you. Clicking outside the lit area does nothing, on purpose: that is what keeps you from leaving the script halfway and getting lost.
Beside it sit Previous, to review the last card, and the Guide lost its way? Restart link, which goes back to the step’s first card when the screen and the script fall out of sync.
And it keeps explaining inside the windows
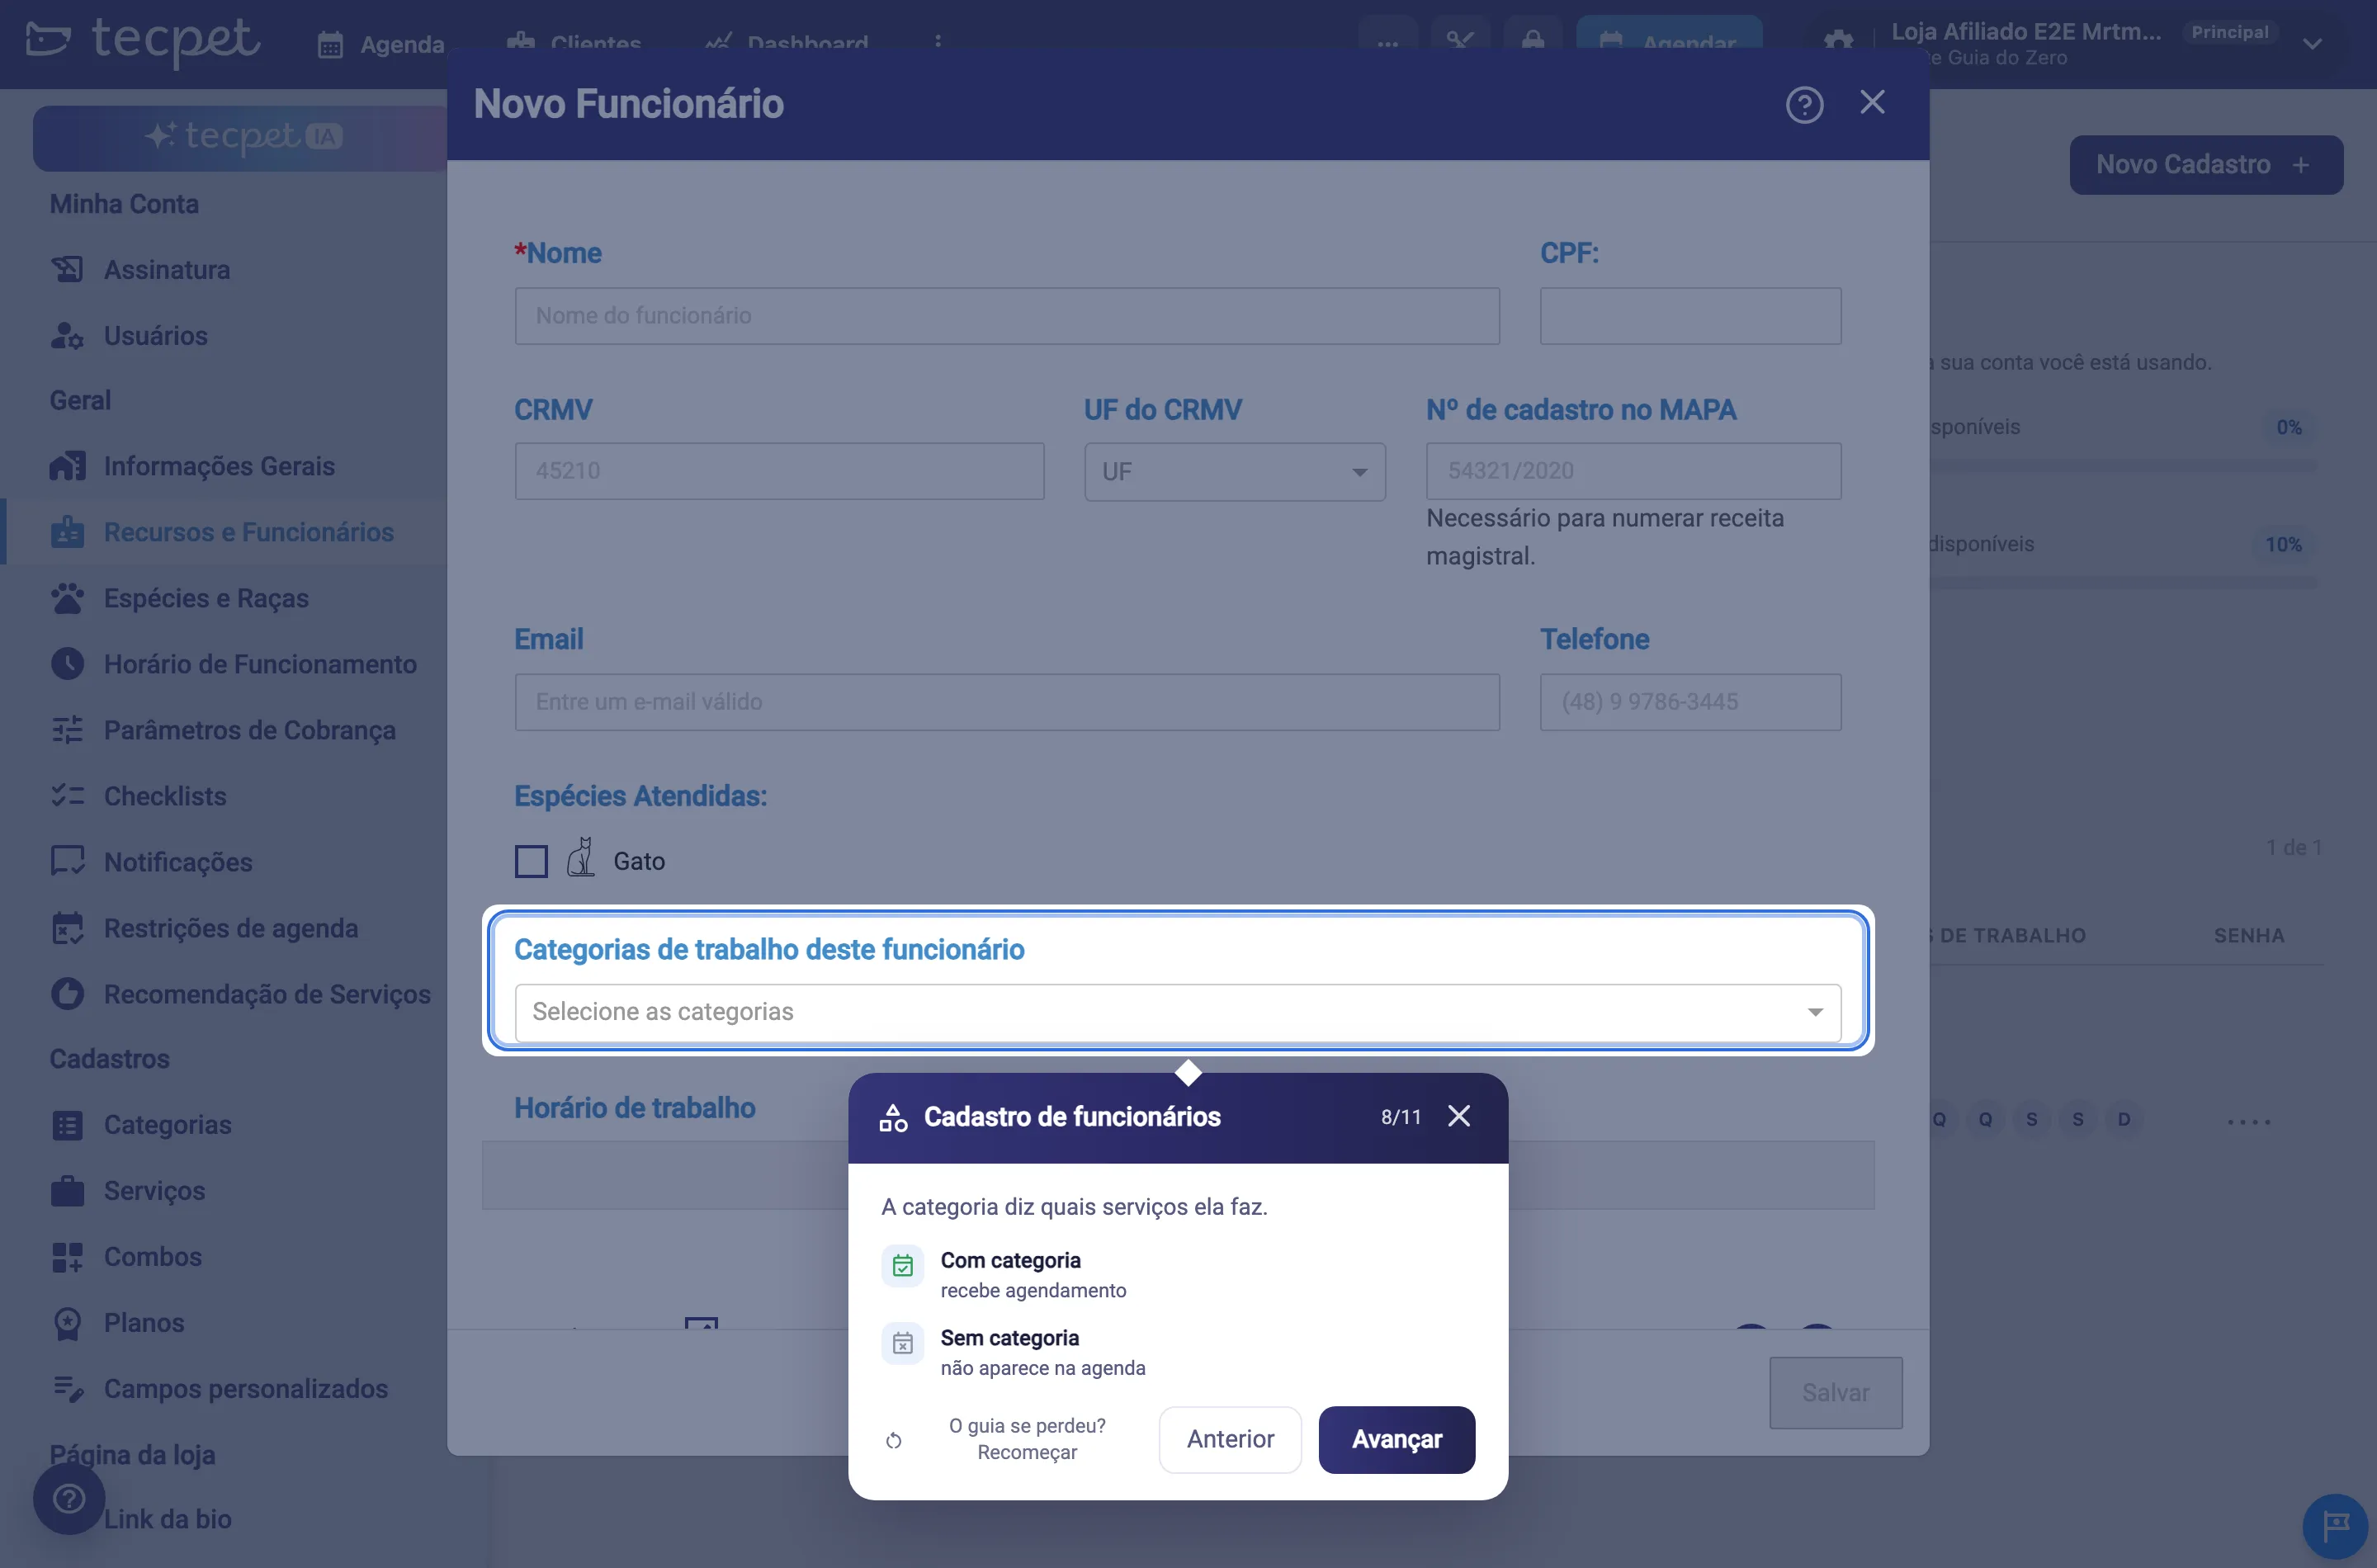
Section titled “And it keeps explaining inside the windows”The guide follows you into the modals. In the staff form, for instance, it stops at the Work categories for this employee field and shows, with icons, what is at stake: with a category the person takes bookings, without a category they do not show up on the calendar. It is the same rule from the Secret stop, now at the exact point where it is decided.
On the last card the step is marked as done, you go back to the guide list and the next one is already unlocked.
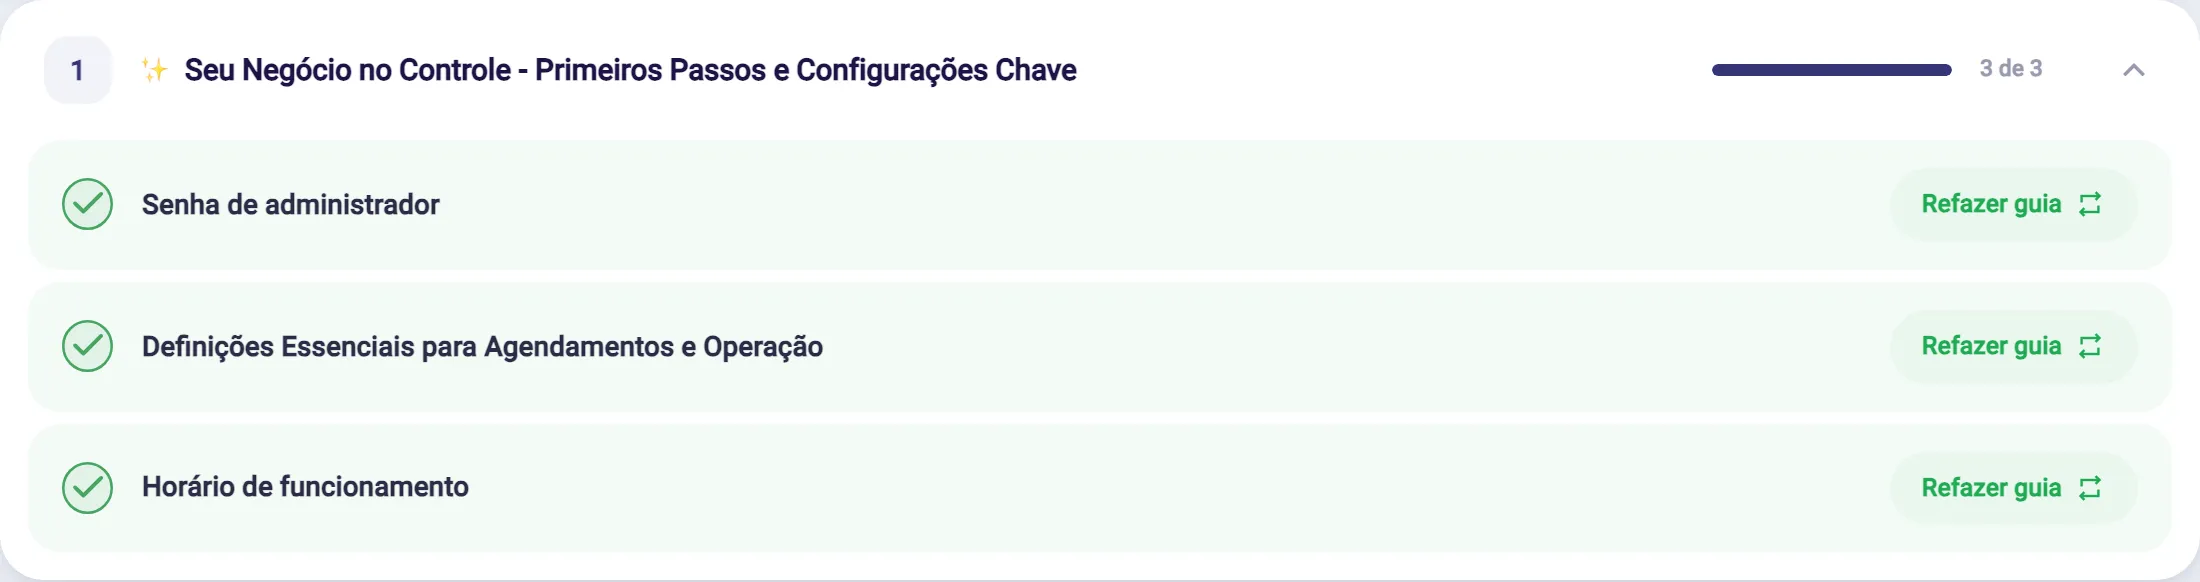
Section 1: Your Business in Control
Section titled “Section 1: Your Business in Control”These are the three settings without which nothing else works.
- Admin password (1 minute): creates the 6-digit password that protects the settings screens and sensitive actions. It is asked every time someone enters Settings, so it is the shop’s first lock. Details in Admin password.
- Essential definitions for bookings and operation (2 minutes): the shop’s basic data and rules, such as name, contact and the booking flow behaviour. See General information and Booking flow rules.
- Opening hours (2 minutes): when the shop is open, day by day and per segment, with breaks. It is the outer limit of what the calendar can offer. Details in Opening hours.
Why this section comes first: with no admin password nobody safely enters the next settings, and with no opening hours the calendar has no window at all in which to offer service.
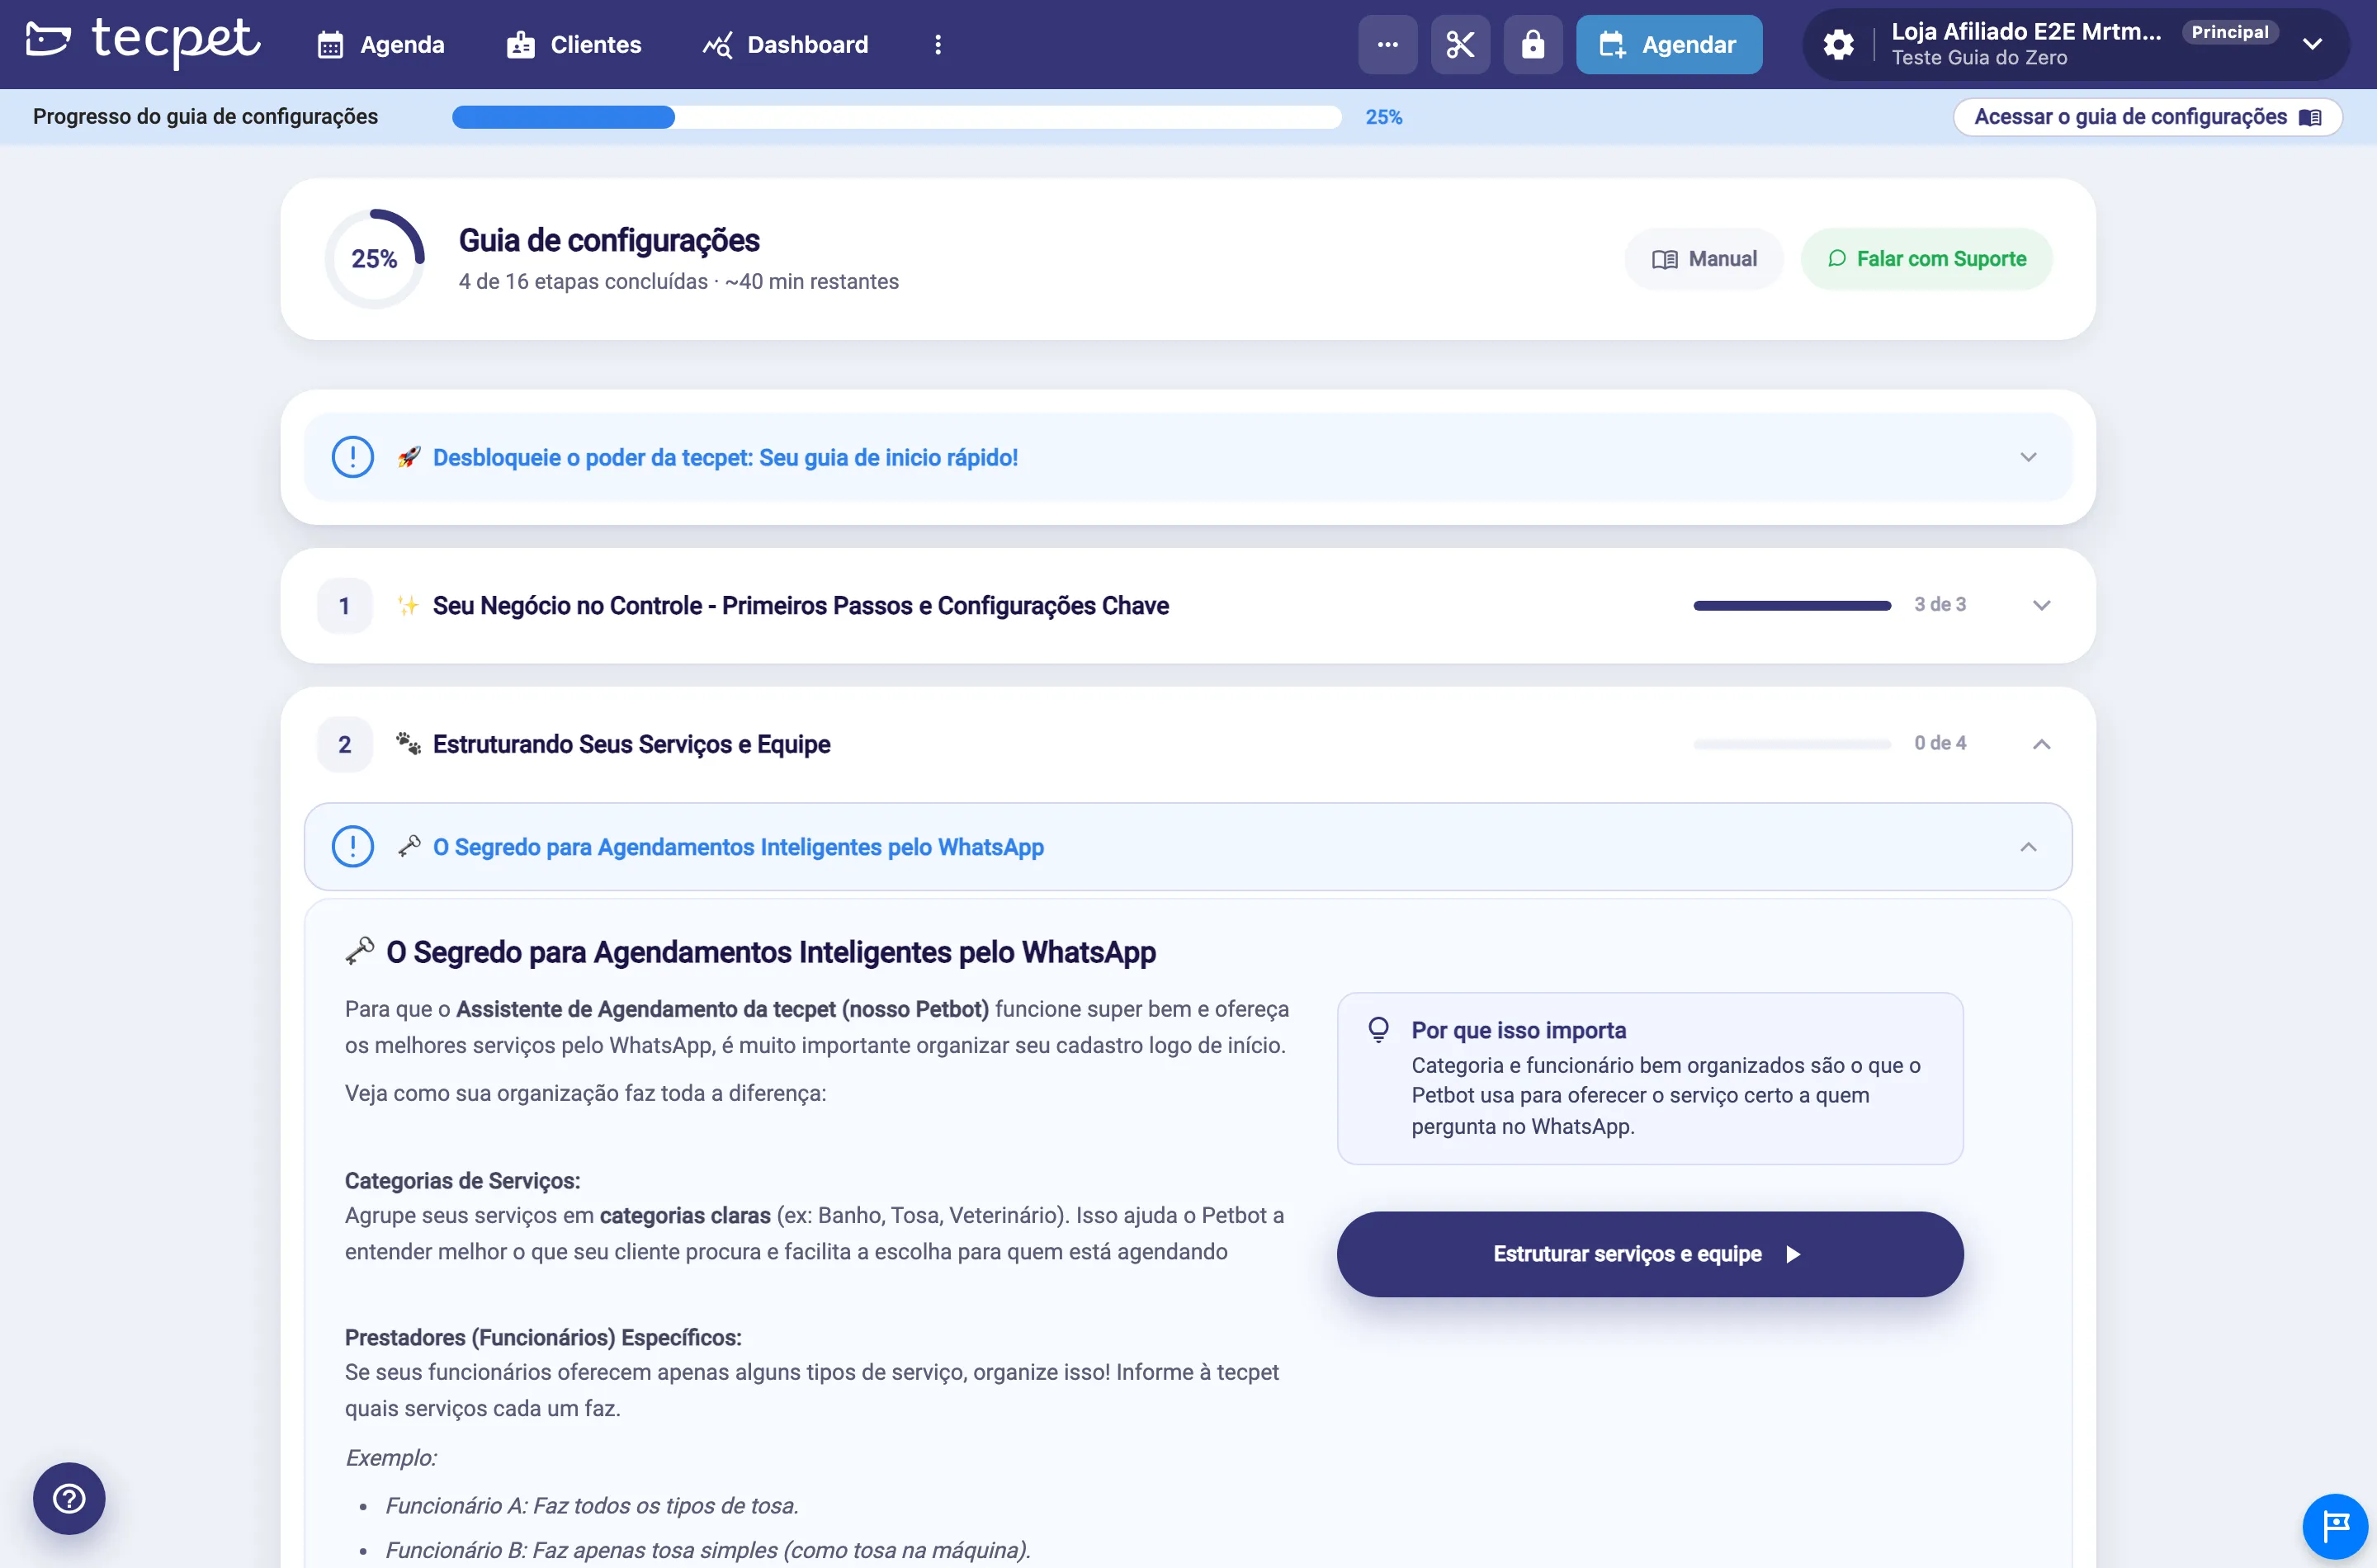
The informative stop: The Secret to Smart Bookings on WhatsApp
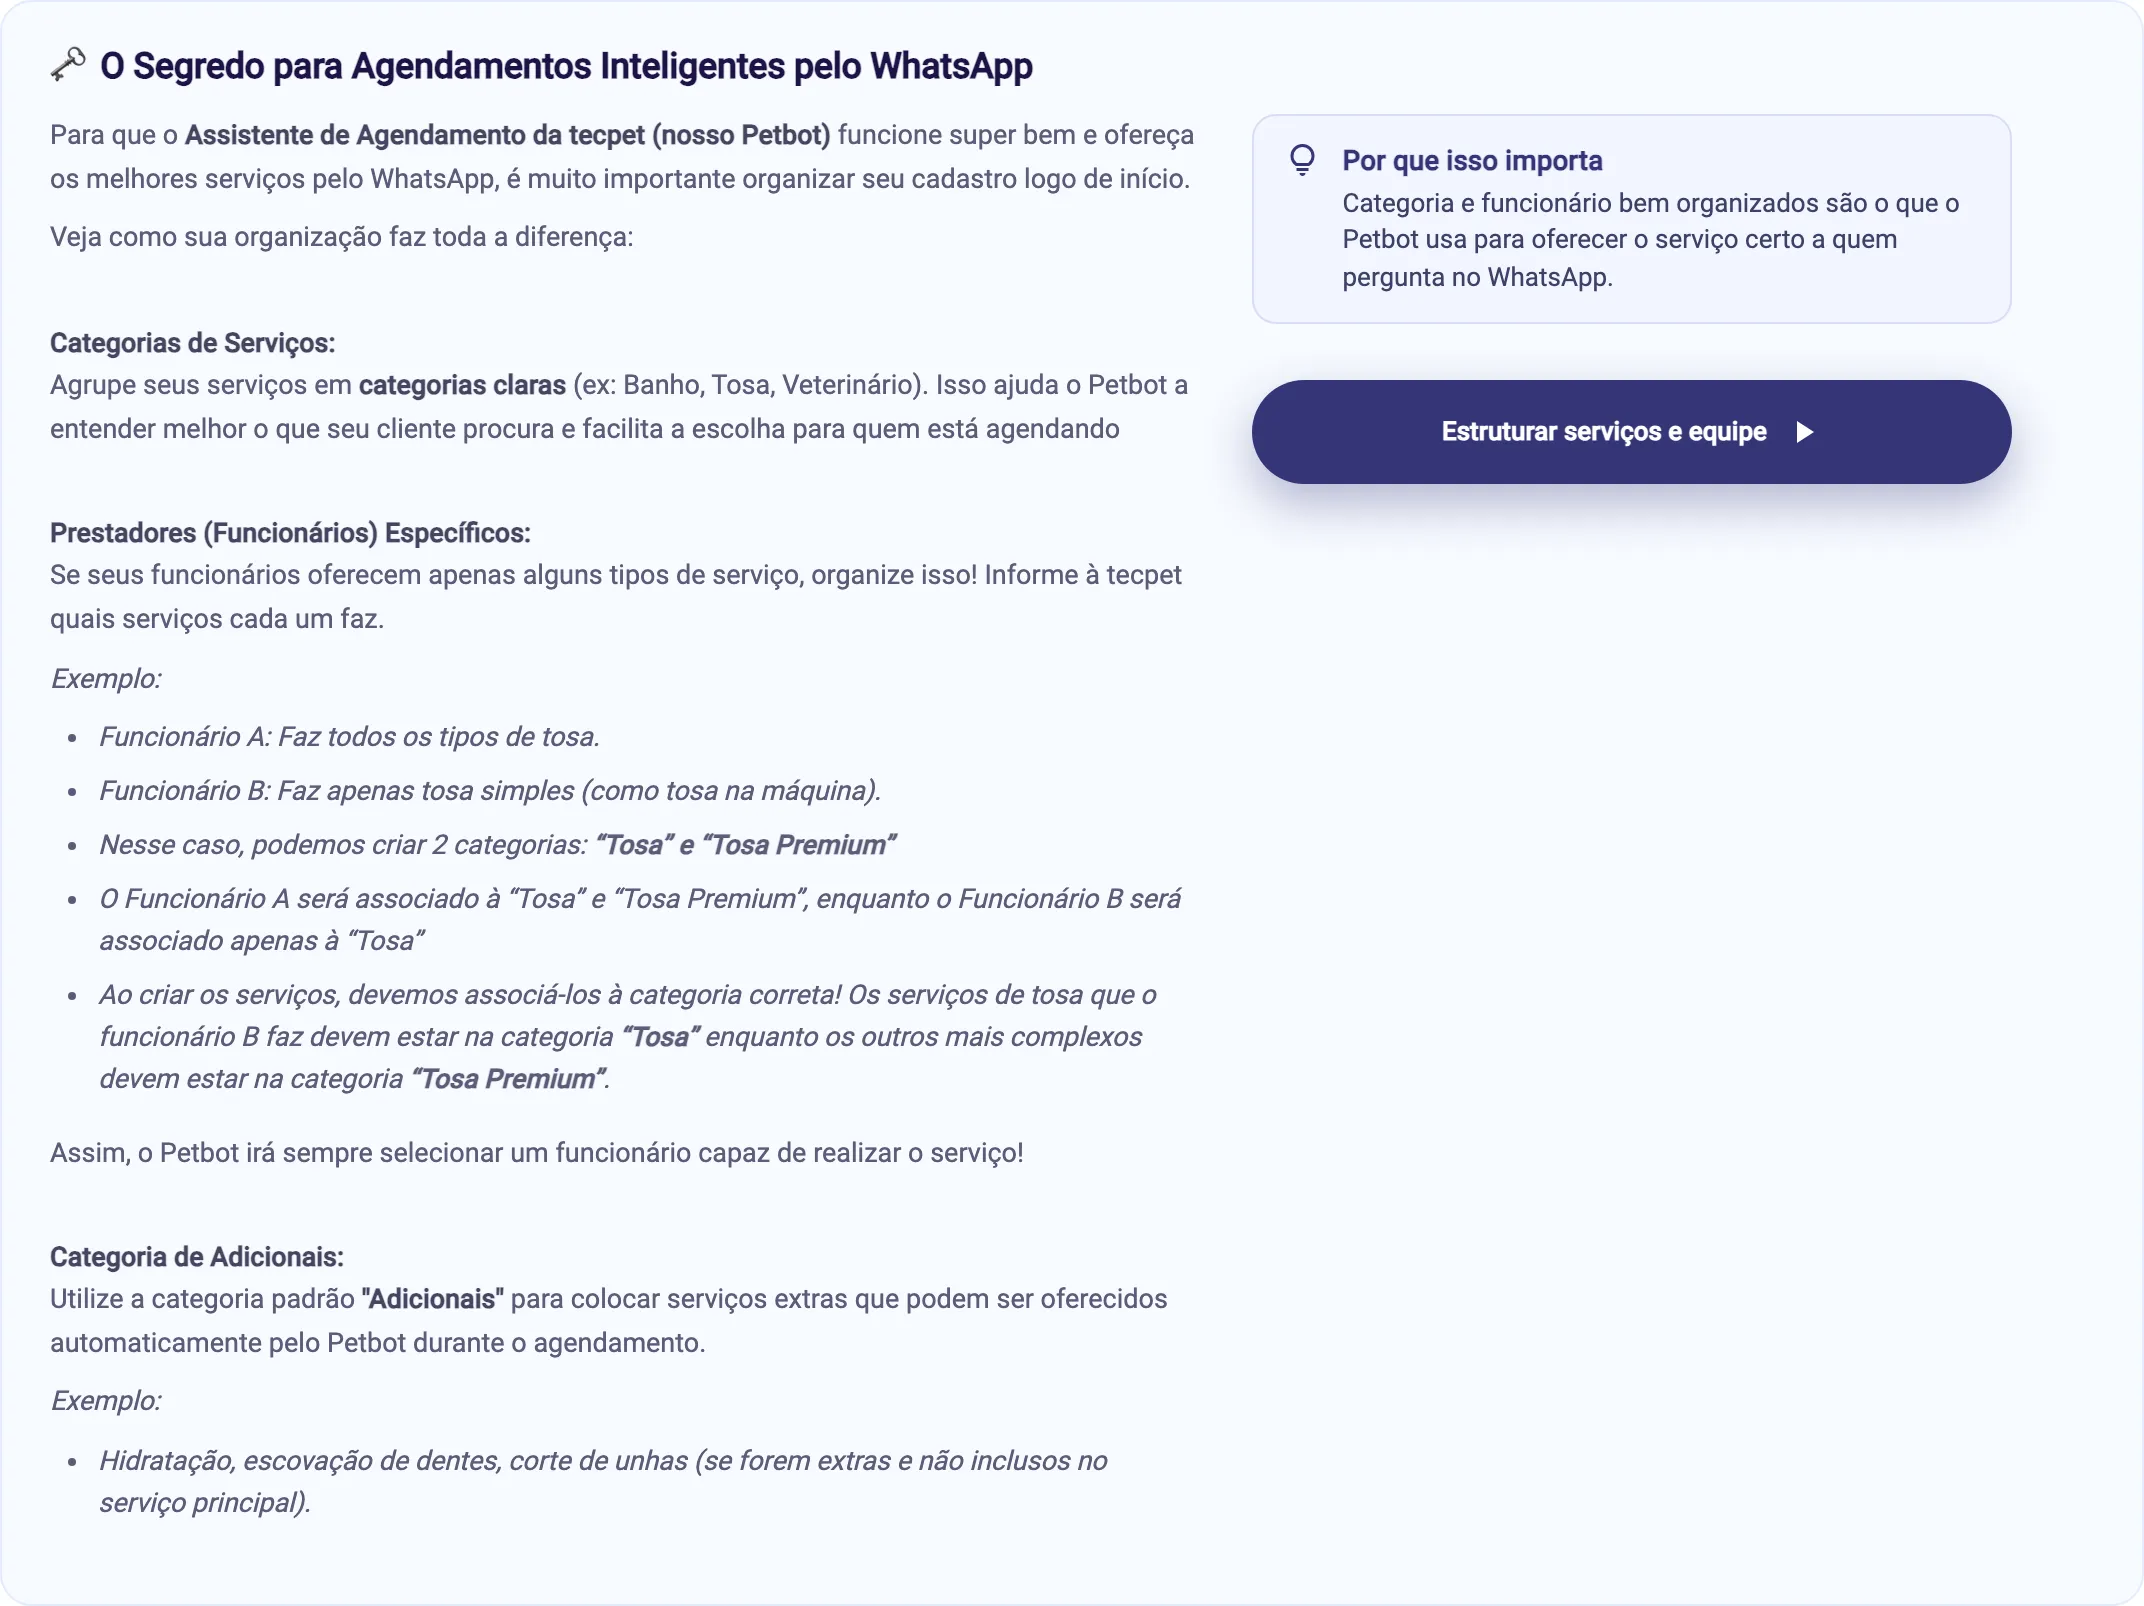
Section titled “The informative stop: The Secret to Smart Bookings on WhatsApp”Before section 2 the guide makes an informative stop to explain the logic Petbot uses. It is the most important panel in the whole guide, because it decides the quality of the automated service later:
- clear categories (Bath, Grooming, Vet) help Petbot understand what the client asked for;
- staff linked to the right categories make sure the offered slot belongs to someone who really performs that service. The panel’s example is splitting Grooming and Premium Grooming when only part of the team does the harder cut;
- the default Add-ons category is the one Petbot uses to offer extras during booking, such as conditioning or nail trimming.
Click Structure services and team, on the right column, to finish the stop and move on.
Section 2: Structuring Your Services and Team
Section titled “Section 2: Structuring Your Services and Team”This is where the shop takes the shape Petbot and the calendar see.
- Species and breeds served (4 minutes): defines which animals the shop serves and which breeds exist to pick in the pet record. Details in Species and breeds.
- Organization by categories (2 minutes): creates the categories that group the services, including Add-ons. Details in Categories.
- Staff registration (4 minutes): registers the team, each person’s working hours and the categories each one serves. Details in Resources and staff.
Why this order: the calendar only opens a slot when there is a person who serves that category and who works at that time. A category with nobody linked is a category the client never sees.
Section 3: Your Services and Smart Pricing
Section titled “Section 3: Your Services and Smart Pricing”Now the catalogue and the price come in.
- Billing parameters (3 minutes): creates the sizes and coats that will be crossed in the price table. Details in Billing parameters.
- Service registration (4 minutes): creates each service with name, category, species, duration, description and price table, and decides whether it shows up for Petbot. Details in Create a service.
- Custom checklists (4 minutes): builds the check lists the team fills in on each service, per booking status. Details in Checklists.
Why parameters come before services: the service price table is built on top of the sizes and coats that already exist. Creating the service first forces you to come back later to fill in the price.
Section 4: Your First Client and the Journey Begins
Section titled “Section 4: Your First Client and the Journey Begins”The last section configures nothing: it makes you run the whole operation once, from the record to the payment.
- First client and pet registration (6 minutes): creates a client and their pet, with species, breed, size and coat. See Register a client and Register and edit a pet.
- Your first booking (4 minutes): books a service for that pet, choosing service, day, time and, if you want, the professional. Details in Create a booking.
- Explore the service area (6 minutes): shows the board where the team moves the service across statuses, from received to finished. Details in Service area.
- Registering the payment (3 minutes): closes the cycle by settling that service’s invoice. Details in Inside the invoice.
Why do this inside the guide: this is where registration mistakes show up. If a category has no staff, if the pet’s size has no price or if no slot opens, you find out now, with a pretend client in front of you, and not with a real one on the phone.
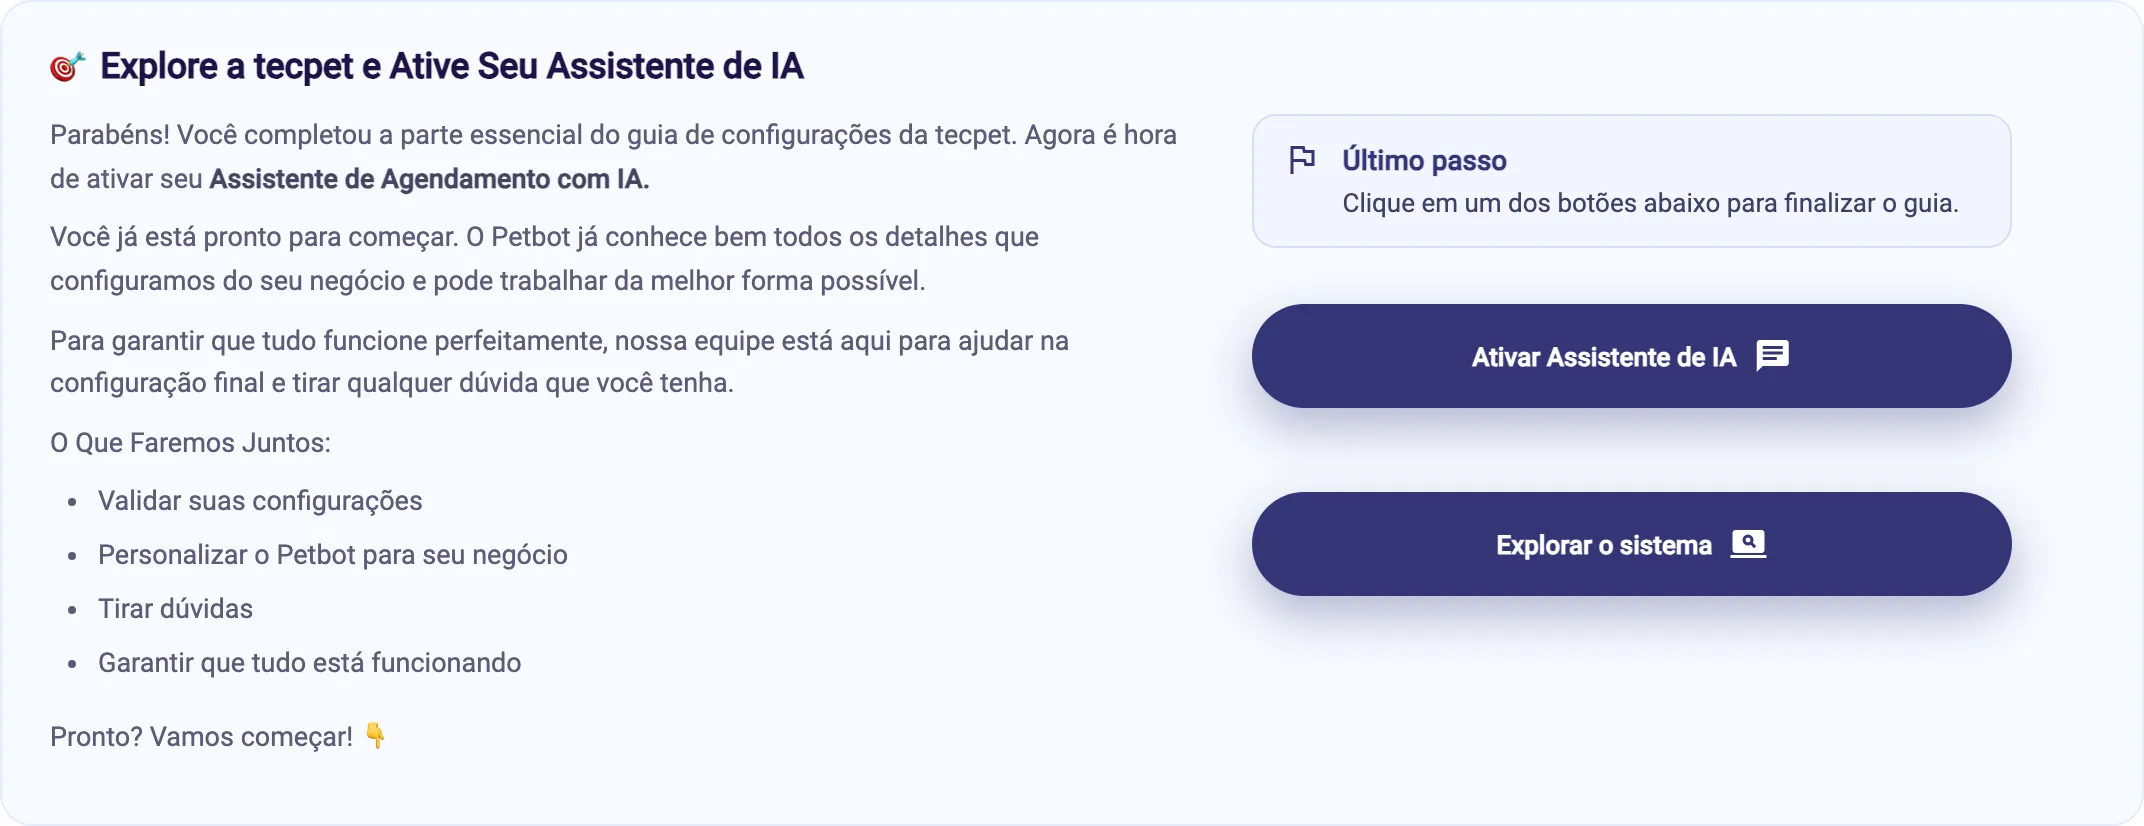
The ending: activate the AI Assistant
Section titled “The ending: activate the AI Assistant”Once the last step is done, the guide opens the closing panel and progress hits 100%. On the right sits the Last step notice, reminding you that clicking either button ends the guide. On plans with the AI Booking Assistant there are two, and both finish it:
- Activate AI Assistant: opens the conversation with the tecpet team to validate the setup, tailor Petbot and answer questions;
- Explore the system: closes the guide and releases navigation.
On plans without AI the panel is All set to start: it celebrates what is already possible, offers Talk to our team in the Help Center for questions, invites you to know the AI assistant and ends with the same Explore the system. After finishing, tecpet confirms with the guide completed message and takes you to the calendar.
While the guide is below 100%
Section titled “While the guide is below 100%”The blue Setup guide progress strip follows you under the top bar, with the percentage and the shortcut back. And navigation is blocked: trying to open the calendar, the clients or any other screen sends you back to the guide. Only what lives inside the guide, and the interactive guide of the current step, are released.
It is not a freeze nor an error: it is how tecpet makes sure nobody starts serving with a half-set shop, with no hours, no price or no staff linked. As soon as the guide reaches 100%, the strip disappears and the whole system opens.

Redo a step later
Section titled “Redo a step later”Every finished step keeps the Redo guide button, in green. It runs that step’s interactive guide again, on the original screen, without erasing anything you already registered and without removing the account’s progress. Use it when someone new joins the team or when you want to remember where a given setting was.
The guide stays reachable through the account menu, item Setup guide, even after 100%: it becomes the shop’s own reference manual. If the doubt is about the screen itself, and not about the walkthrough, use the Manual button at the top of the guide: it opens this Help Center.
Section 4 has 4 steps and ends with Registering the payment: the guide teaches you to settle the invoice inside tecpet, choosing the payment method and confirming it.
With an ERP
When the shop has the ERP module, the Registering the payment step does not appear: the guide has 15 steps and section 4 ends at the service area, because settlement happens in the ERP flow. The same applies to Omie and VHSYS.
The Billing parameters step comes first on purpose: that is where you create sizes and coats. Later, in Service registration, the service price table shows up crossing size and coat.
Price by breed
When the shop prices by breed, the Service registration step opens a different interactive guide: the price is set breed by breed, not by crossing size and coat. That makes the Species and breeds step even more important: only a breed already registered shows up in the price table.