Register and edit a pet
Every pet belongs to a customer. You can register the pet together with the customer (at sign-up) or add it to an existing customer. What you fill in feeds the calendar, the price of services, the search and Pet Care — so it’s worth doing it well.
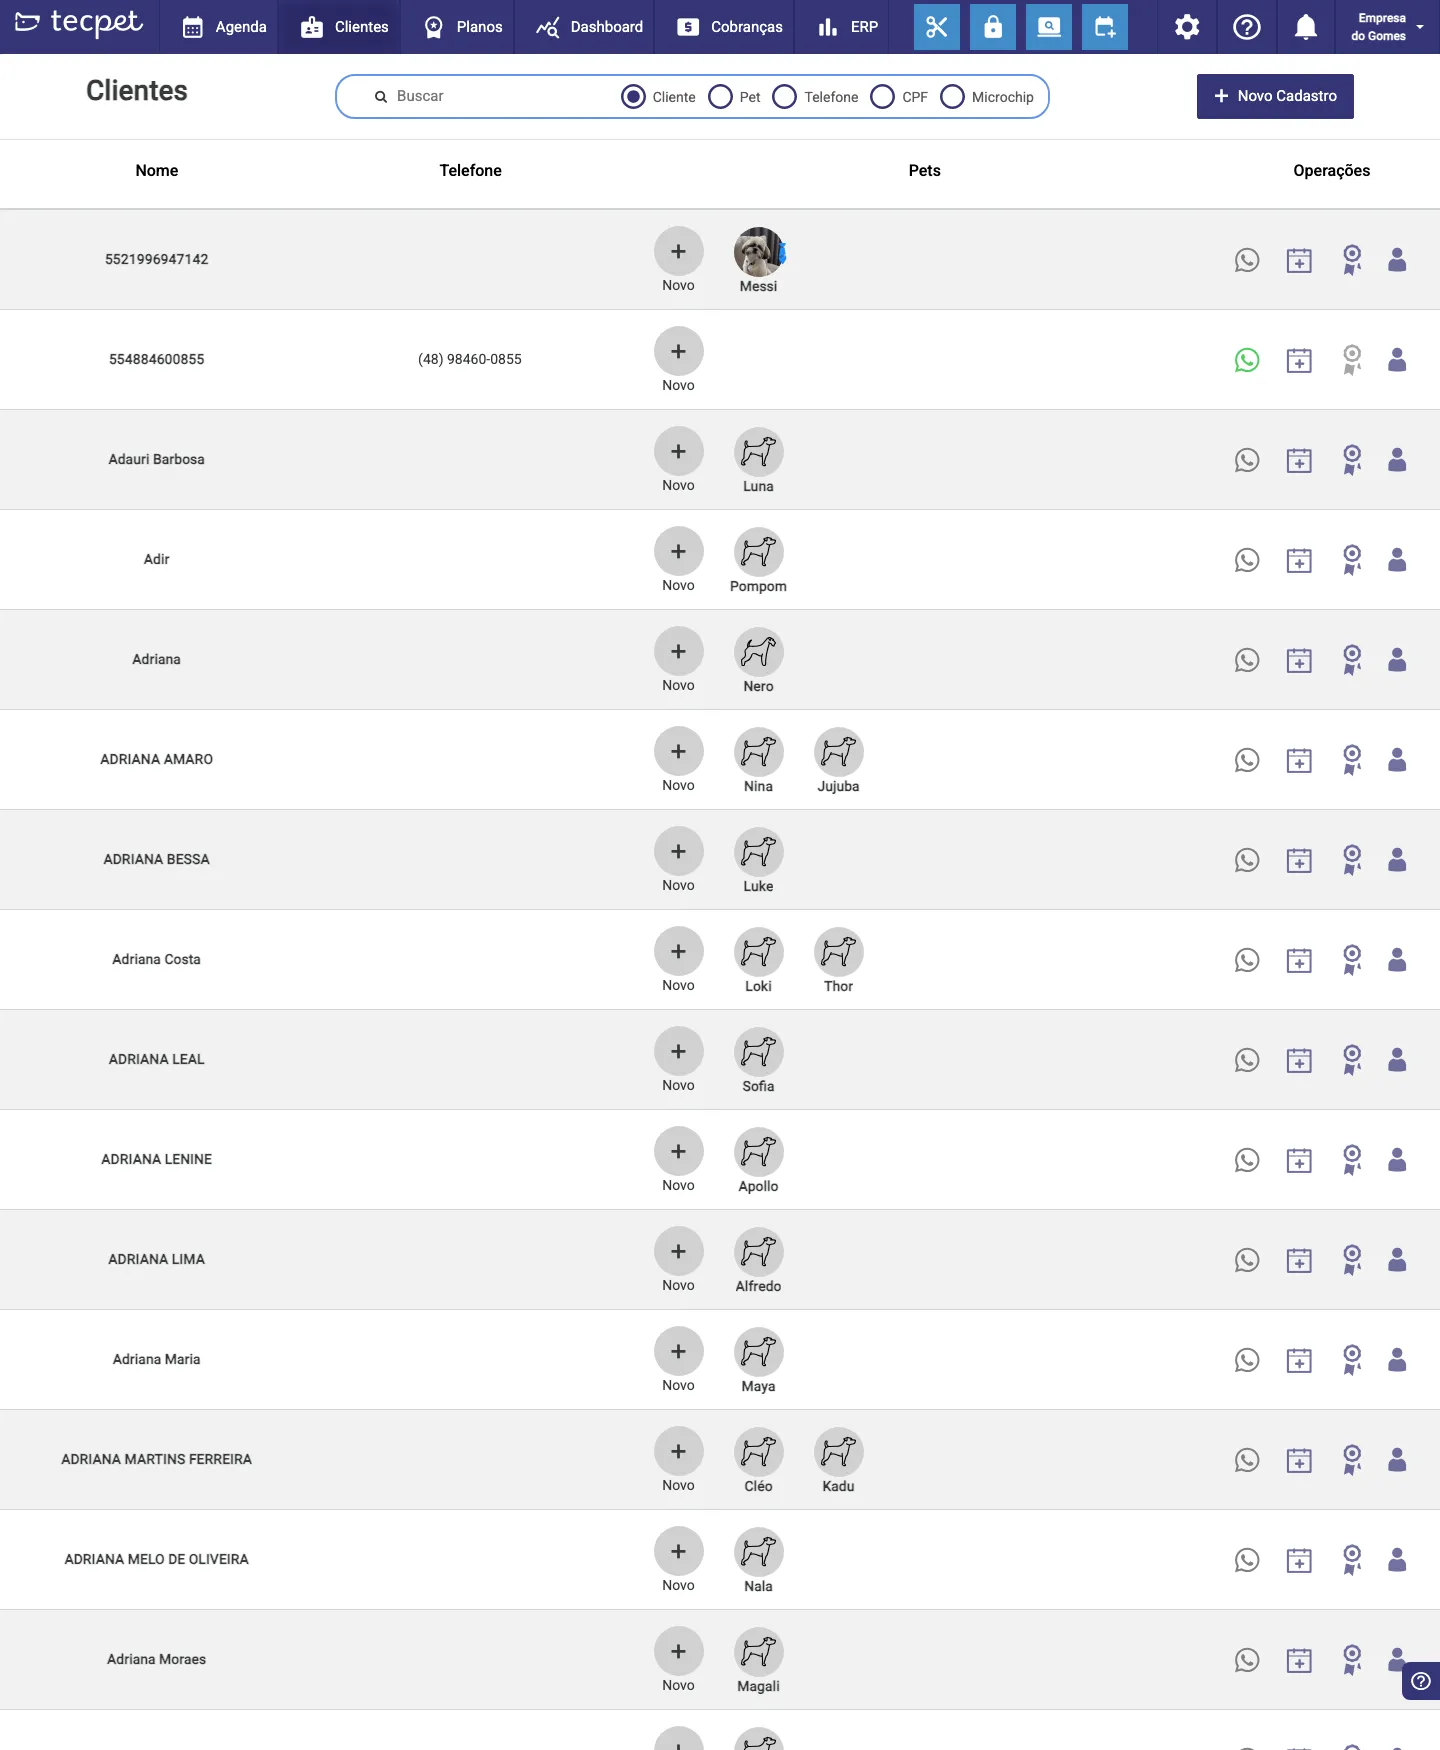
Step 1 — Go to the Customers screen
Section titled “Step 1 — Go to the Customers screen”In the top menu, click Customers. From here there are two paths to register a pet:
- New customer — click New Registration (blue button, top-right corner) and register the customer along with the pet;
- Existing customer — find the customer in the list and, on their pet card, click the New button (the circle with a +).
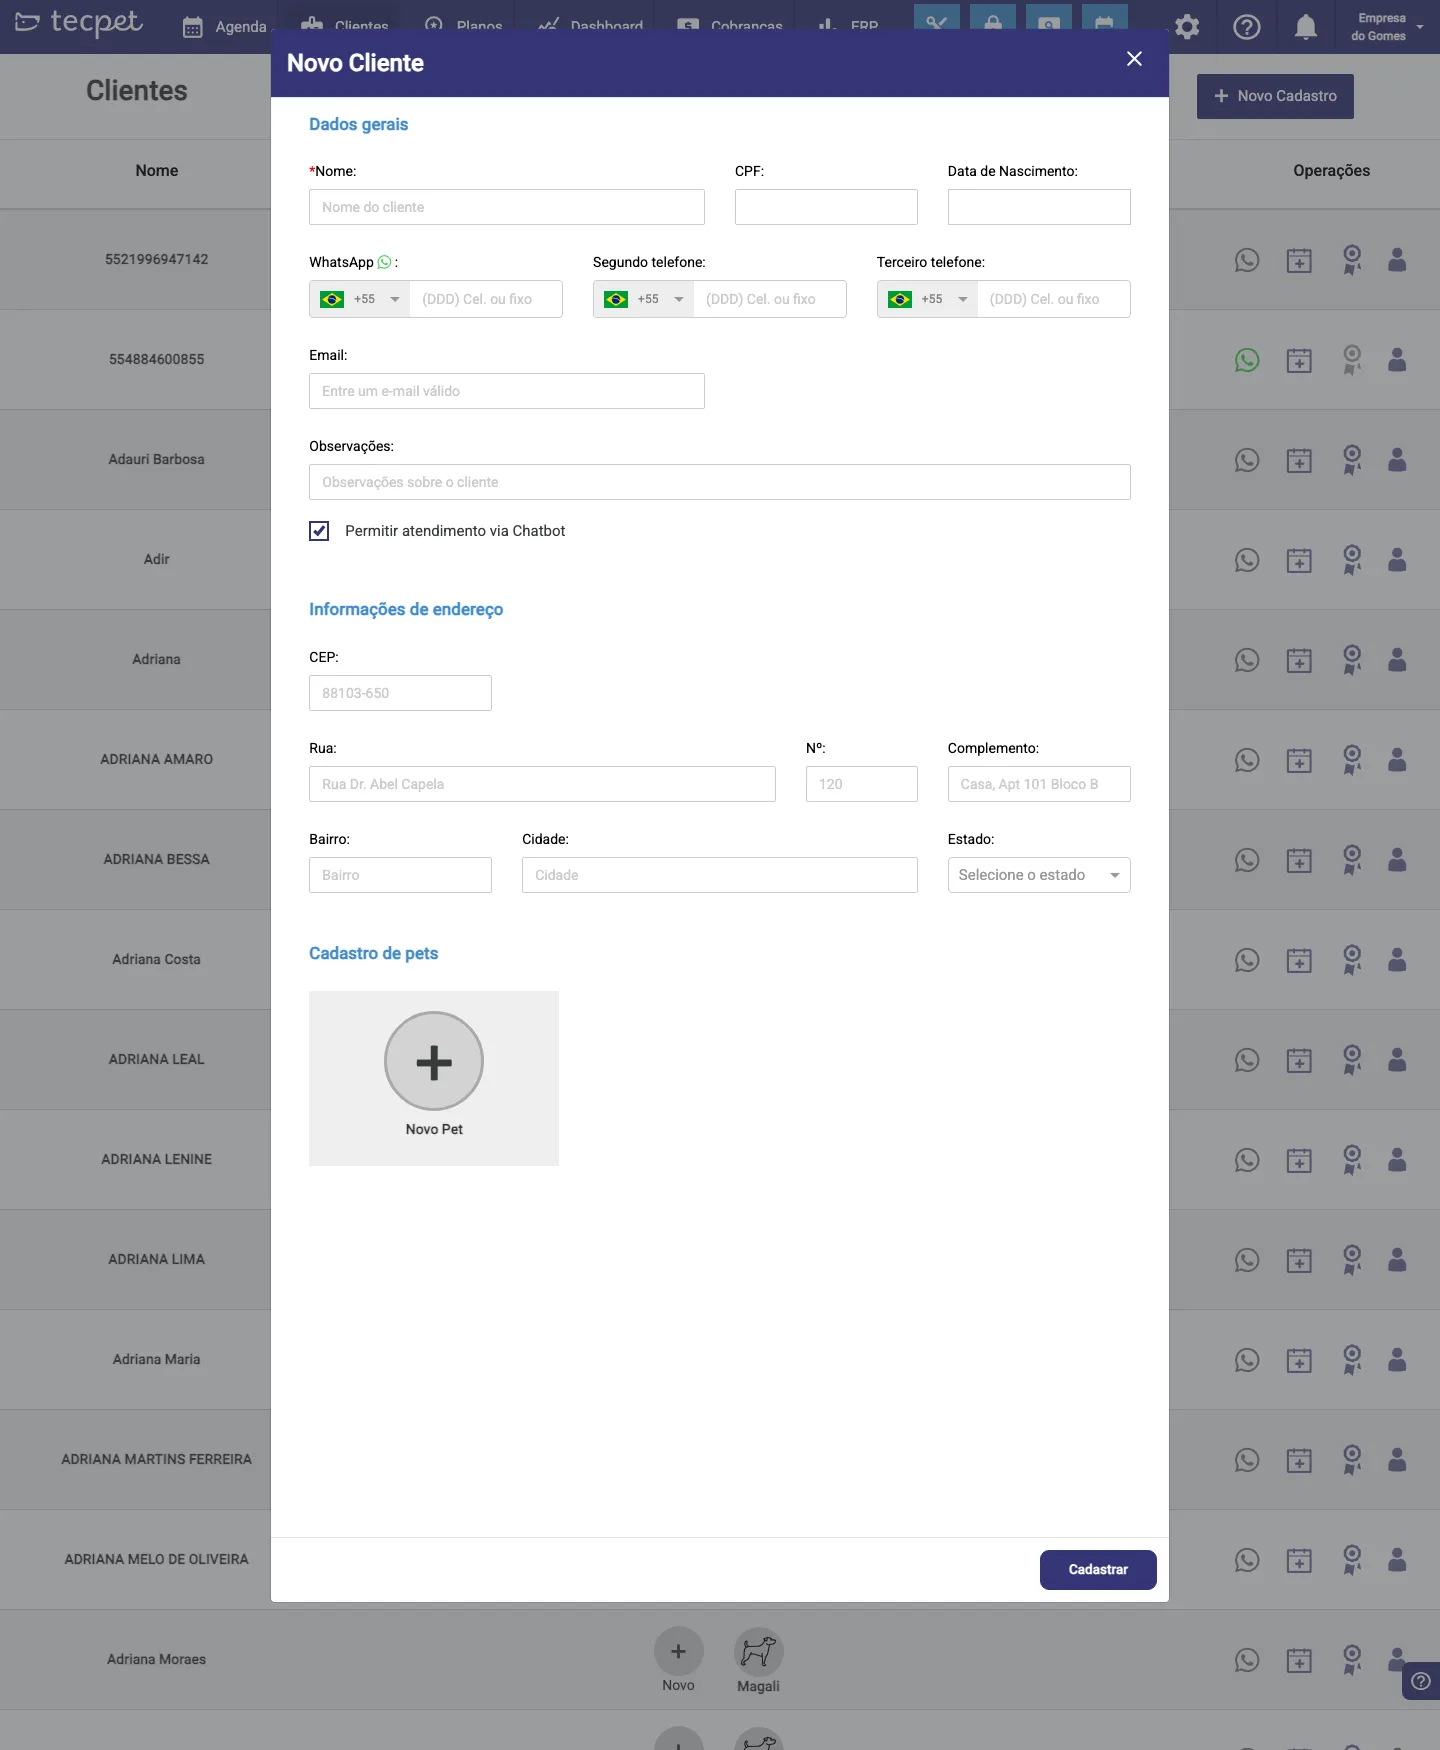
Step 2 — Open the pet form
Section titled “Step 2 — Open the pet form”If you chose New Registration, scroll the window down to the Pet registration section and click the New Pet card (the box with a +). If you clicked New on an existing customer’s card, the pet form opens straight away.
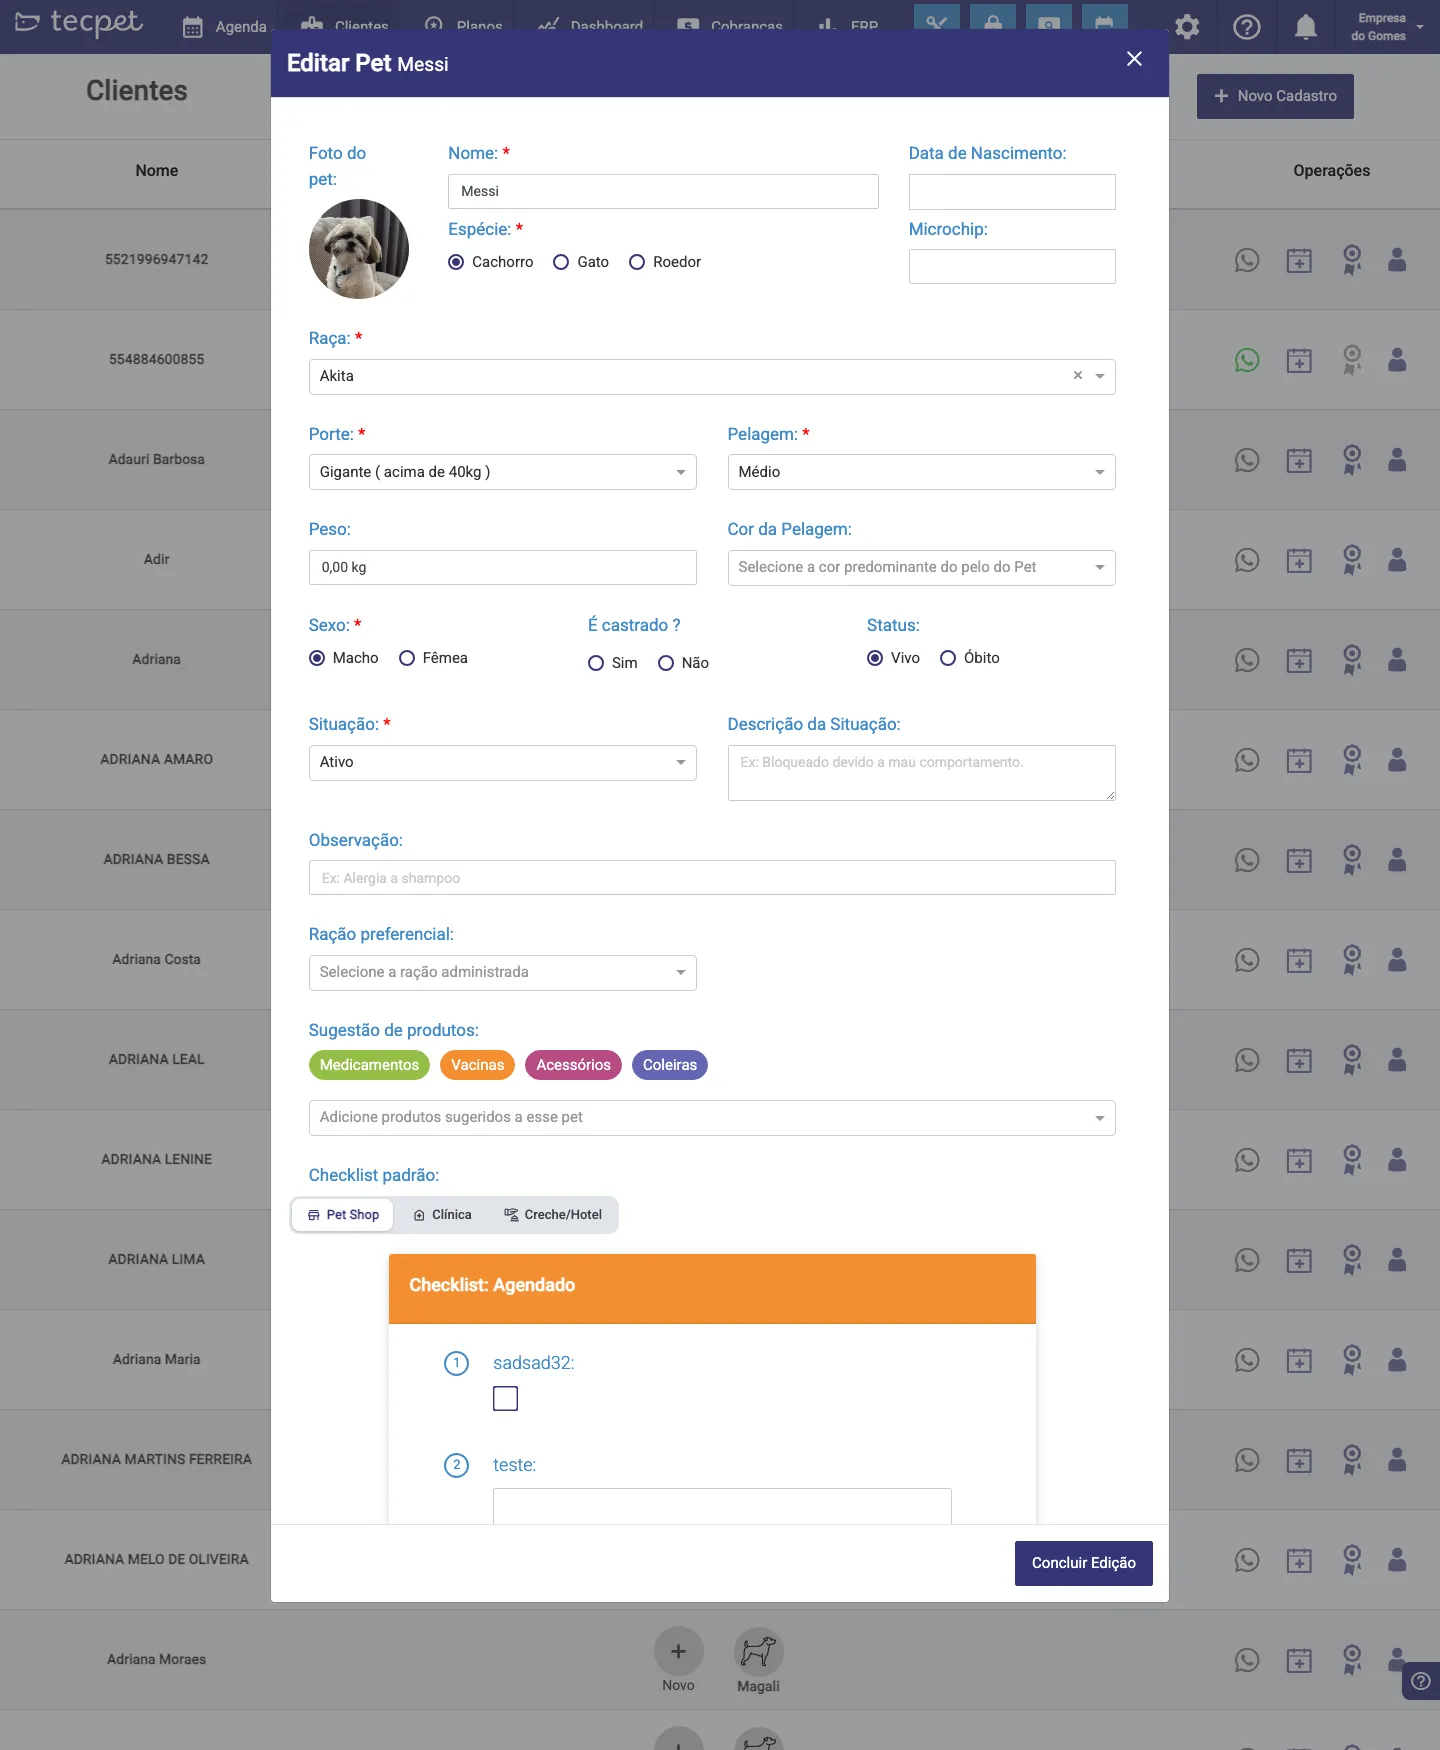
Step 3 — Fill in the pet’s data
Section titled “Step 3 — Fill in the pet’s data”The New Pet window opens with every field. Fields marked with a red asterisk (*) are required — while any is missing, the “There are required fields not filled in” warning shows and the save button stays disabled. See below what each field is.

Pet identification
Section titled “Pet identification”- Name* — the pet’s name (at least 2 letters);
- Species* — Dog, Cat, etc. The species shown here are the ones your store set up in Accepted species and breeds;
- Breed* — becomes available only after you pick the species (the breed list changes with the species);
- Date of Birth — optional; when filled, the system computes the pet’s age automatically;
- Microchip — optional; if filled, it lets you search the pet by microchip on the Customers screen.
Size and coat — they define the price
Section titled “Size and coat — they define the price”These two fields are required and, in most stores, determine the price of bath & grooming:
- Size* — Micro, Small, Medium, Big or Giant;
- Coat* — Short, Medium or Long.
Fill them carefully: a wrong size leads to a wrong price. (See Billing parameters to understand how the price is built from size and coat.)
Still in this block, two optional fields:
- Weight — in kg;
- Coat color.
Sex, neutering, situation and status
Section titled “Sex, neutering, situation and status”- Sex* — Male or Female;
- Neutered? — Yes or No (optional);
- Situation* — controls whether the pet can be served. The options are Active, Suspended, Blocked, Inactive and Restricted. When you pick something other than Active, fill in the Situation description with the reason (e.g. “blocked for bad behavior”);
- Status (Alive / Deceased) — appears when editing the pet; marks animals that passed away, removing them from the normal service flow.
Extra fields
Section titled “Extra fields”Optional, but handy day to day:
- Note — any free remark (e.g. allergic to a shampoo);
- Preferred food — the brand/food the owner uses;
- Suggested products — items recommended for the pet, grouped into Medicines, Vaccines, Accessories and Collars;
- Default checklist — picks which checklist (Pet Shop, Clinic or Daycare/Hotel) comes pre-selected on that pet’s visits.
Step 4 — Save
Section titled “Step 4 — Save”With the required fields filled, click Save (in the New Registration flow the button is “Save and Return to Customer”). The pet now shows on the customer’s card and can be used in appointments and sales.
How to edit a pet later
Section titled “How to edit a pet later”In the Customers list, click the pet’s photo (on the customer’s card). The Edit Pet window opens with the same fields filled in — change what you need and click Finish Editing. This is also where you adjust the pet’s Status (Alive/Deceased) and Situation.