Create file categories
Under Settings → Pet Care → File categories you define how the pet’s files are organized. Every photo, video or document you attach in Pet Care is classified by one of these categories — that’s what keeps the Gallery tidy and makes it easy to find an exam, a report or the “Before x After” photos in the pet’s history. The screen already comes with a few ready-made categories, and you can create as many as you want.
Step 1 — Open the File categories screen
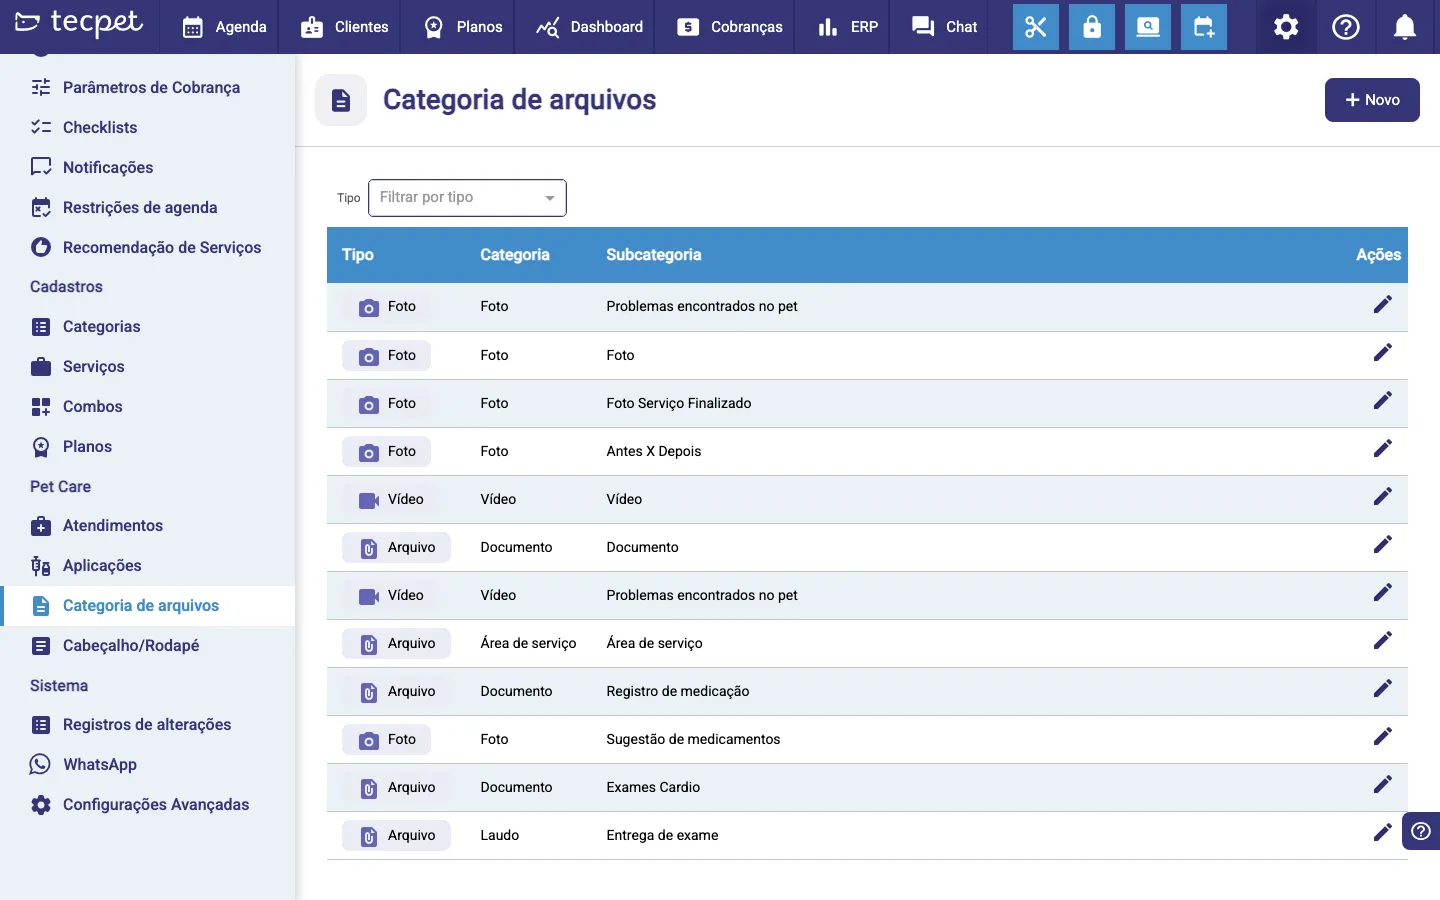
Section titled “Step 1 — Open the File categories screen”Go to Settings (the gear in the top menu) and, in the side menu, under the Pet Care section, click File categories. The screen shows the list of what already exists, with the columns Type, Category, Subcategory and Actions, plus a Type filter at the top to show only photos, only videos or only files.
Step 2 — Click + New
Section titled “Step 2 — Click + New”In the top-right corner, click + New. The New category window opens, where you build the classification with three fields: Type, Category and Subcategory.
The fields of the New category window
Section titled “The fields of the New category window”Fill in the three fields, top to bottom:
- Type* — the file format. The options are Photo, Video and File (document). It’s the first field to fill, because it filters the categories in the next step;
- Category* — the broader grouping (e.g. Photo, Document, Service area). It only becomes available after you pick the Type. You can pick an existing category or type a new name and click “New category: …” to create it on the spot;
- Subcategory* — the specific name that will show in the list and when you attach the file (e.g. “Before x After”, “Finished Service Photo”, “Medication record”, “Exam delivery”). It’s a free-text field.
Step 3 — Save
Section titled “Step 3 — Save”With Type, Category and Subcategory filled in, click Save. The new category shows up in the list right away and can already be picked when you attach a photo, video or document to the pet’s chart. If you close the window without saving (the Close button or the X), nothing is recorded.
How to edit or delete later
Section titled “How to edit or delete later”In the list, click the pencil in the Actions column of the row you want to change — the same New category window reopens with the fields filled in. Adjust the Type, Category or Subcategory and click Save. For the subcategories you created, a Delete button also appears in that window; clicking it removes the subcategory from the list (it stops showing up when attaching new files). The subcategories that come built in with Pet Care don’t have that button and can’t be deleted.