Create an appointment
An appointment is created through a 5-step wizard: Customer → Pets → Services → Date & Time → Checklist. You move one step at a time with Next (and can go back with Back). See each step below.
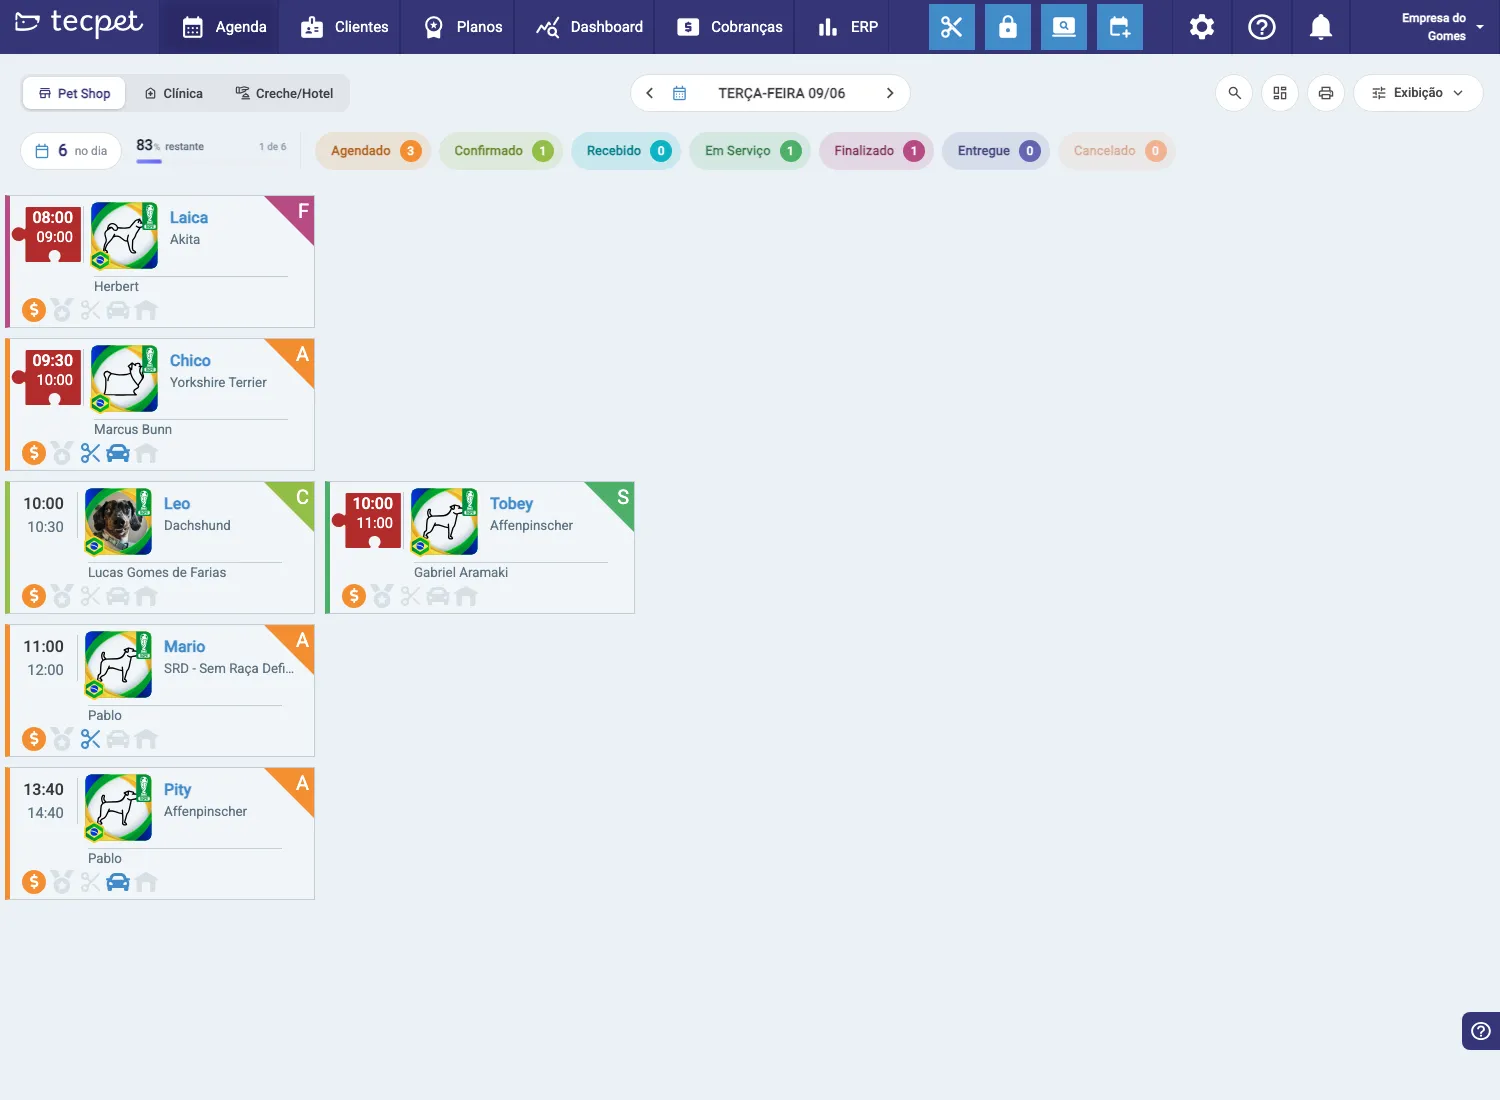
Step 1 — Open New Appointment
Section titled “Step 1 — Open New Appointment”On the Calendar, click the calendar-with-”+” icon (top-right of the blue bar). At the top of the wizard, pick the service-type tab: Pet Shop, Clinic or Daycare/Hotel — this defines which services show up in the next steps.
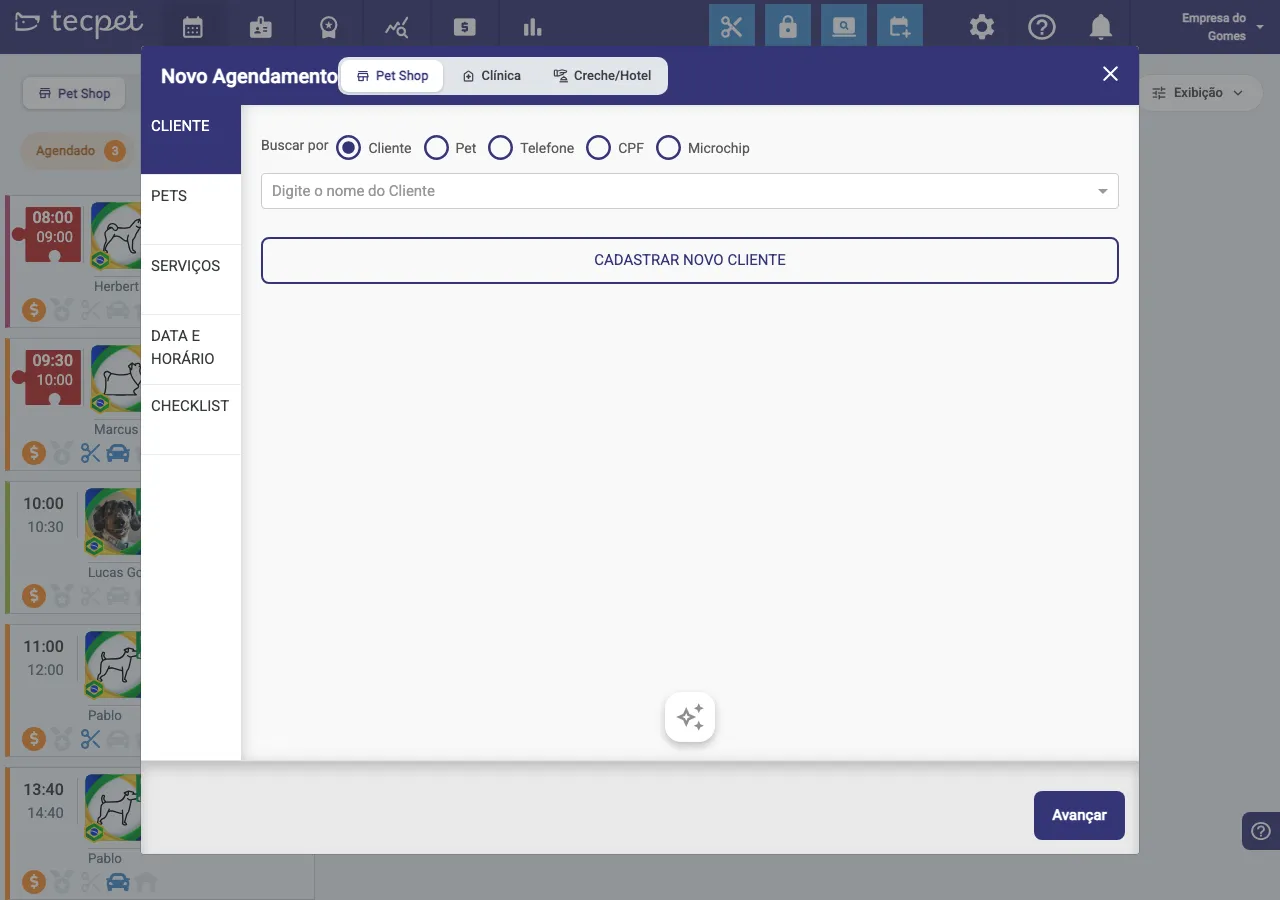
Step 2 — Choose the customer
Section titled “Step 2 — Choose the customer”Use the search field to find the customer. Under Search by, pick the criterion: Customer, Pet, Phone, Tax ID or Microchip, and type into the field. Select the customer from the list.
For a new customer, click REGISTER NEW CUSTOMER to add them on the spot. Then click Next.
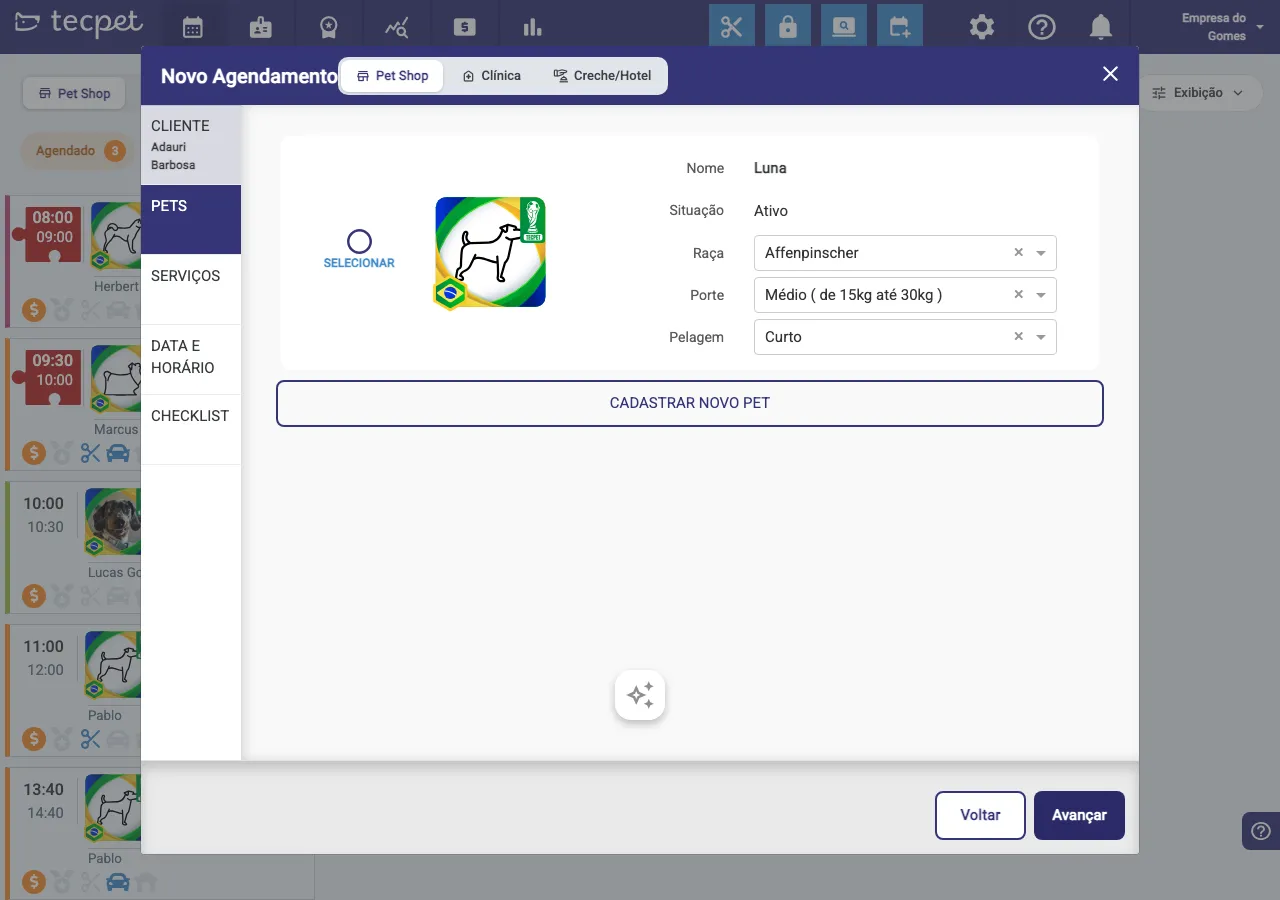
Step 3 — Choose the pet
Section titled “Step 3 — Choose the pet”The customer’s pets appear. Click SELECT on the pet to be served. Check breed, size and coat — if any is missing, complete it right there (size and coat affect the price, and the pet must have a breed to continue).
If the pet doesn’t exist yet, use REGISTER NEW PET. Then click Next.
Step 4 — Choose the services
Section titled “Step 4 — Choose the services”Check the services and combos to be done. Use the search or the tabs (Combos, Bath, Grooming, Pickup & delivery). As you select, the Total adds up at the bottom.
In this step you can also set the requesting employee, apply a discount, enable Pickup & delivery and, if the customer has a compatible plan, use it (or Sell Plan). Then click Next.

Step 5 — Set date and time
Section titled “Step 5 — Set date and time”Pick the date on the calendar and click an available time slot in the grid. The slots shown already respect the store’s hours and schedule restrictions.
You can also use Recurrence → Add (to repeat the appointment) and Choose employees to indicate who will perform it. Then click Next.

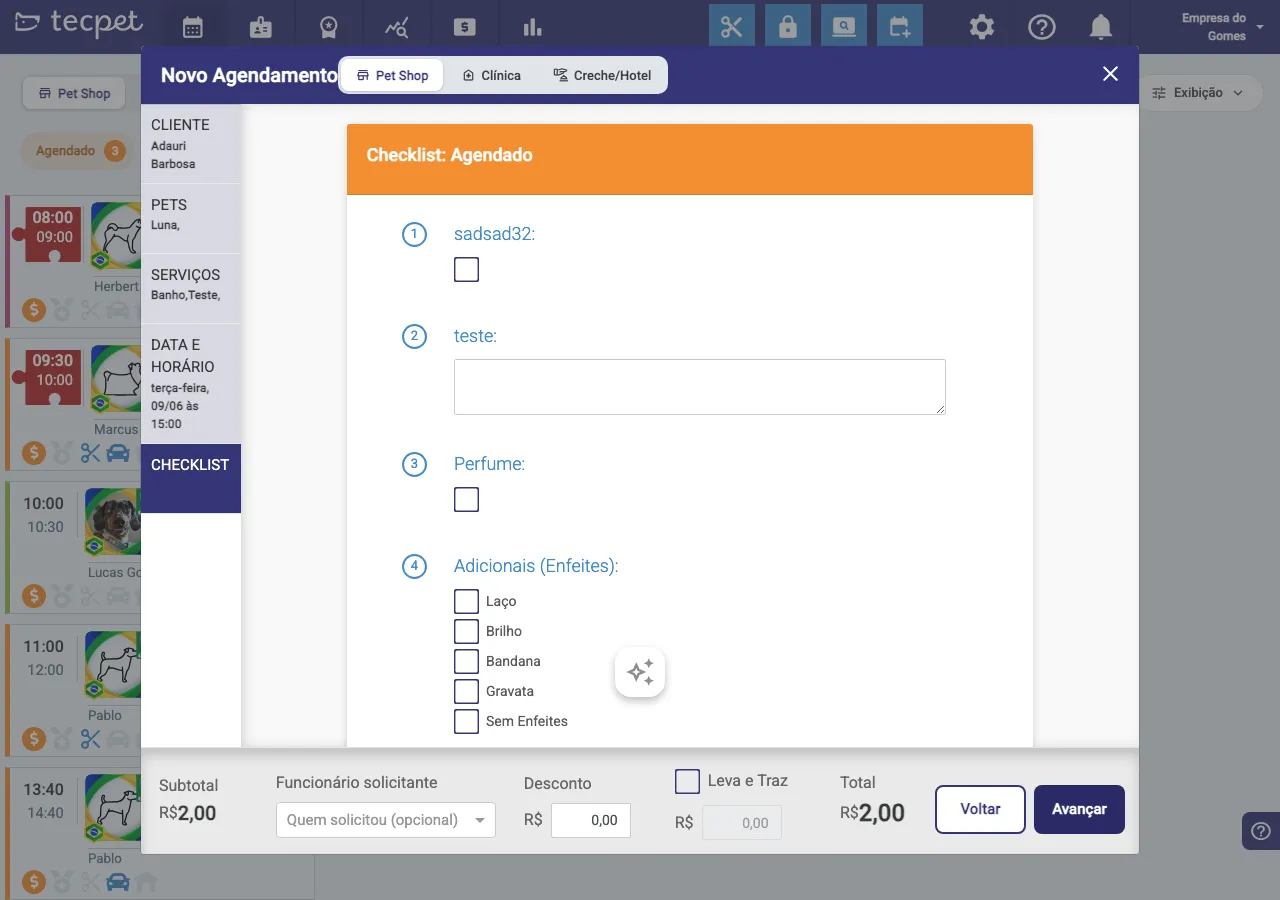
Step 6 — Review the checklist and finish
Section titled “Step 6 — Review the checklist and finish”The last step shows the visit’s Checklist (the template defined in Settings → Checklists). Tick the items and fill in the fields as agreed with the owner. Click Next to complete the appointment.
After creating it
Section titled “After creating it”The appointment shows up in the Scheduled column of the calendar. Click its card anytime to see details, edit or change the status (Confirmed, Received, In Service, Finished, Delivered). See Understanding the calendar for the status flow.