The top menu
The purple top bar is present on every screen of TecPet — it’s the system’s main navigation. Here’s what each part does.

The navigation buttons
Section titled “The navigation buttons”On the left are the main areas:
- Calendar — the home screen, with the day’s appointments;
- Customers — customer and pet list and registration;
- Plans — the plans and packages sold;
- Dashboard — business reports and indicators;
- Billing — the invoices (pending, paid, overdue);
- ERP — the invoicing/stock module (when contracted).
The TecPet logo always takes you back to the Calendar.
The quick shortcuts
Section titled “The quick shortcuts”The block of highlighted icons holds day-to-day operation shortcuts — among them New appointment (calendar-with-”+” icon), which opens the booking wizard from any screen. The others give quick access to the service area, screen lock and search.
Settings, help, notices and account
Section titled “Settings, help, notices and account”On the right are:
- ⚙️ Settings — opens the settings area (asks for the admin password);
- ❓ Help center — manual, support and the setup guide;
- 🔔 Notices — the Notices panel;
- Account name — account menu (Change password, Log out) and, in networks, shows the unit.
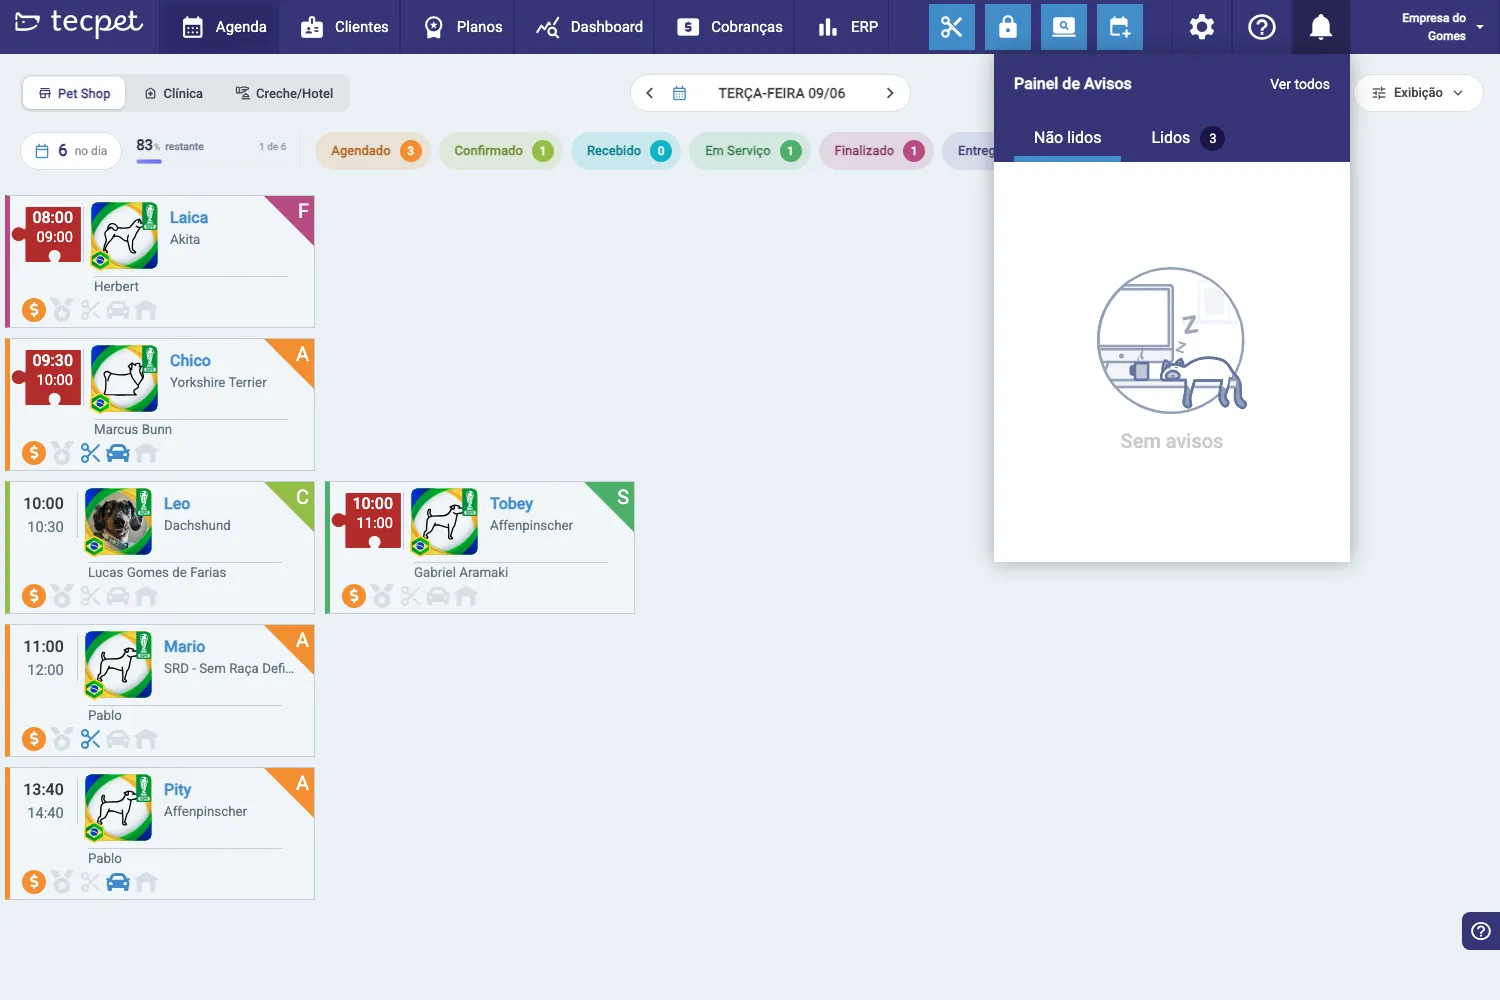
Notices panel
Section titled “Notices panel”The bell (🔔) opens the Notices panel, where the system shows important notifications for you. It splits notices into Unread and Read, and the See all link opens the full list. When there’s nothing pending, it shows “No notices”.
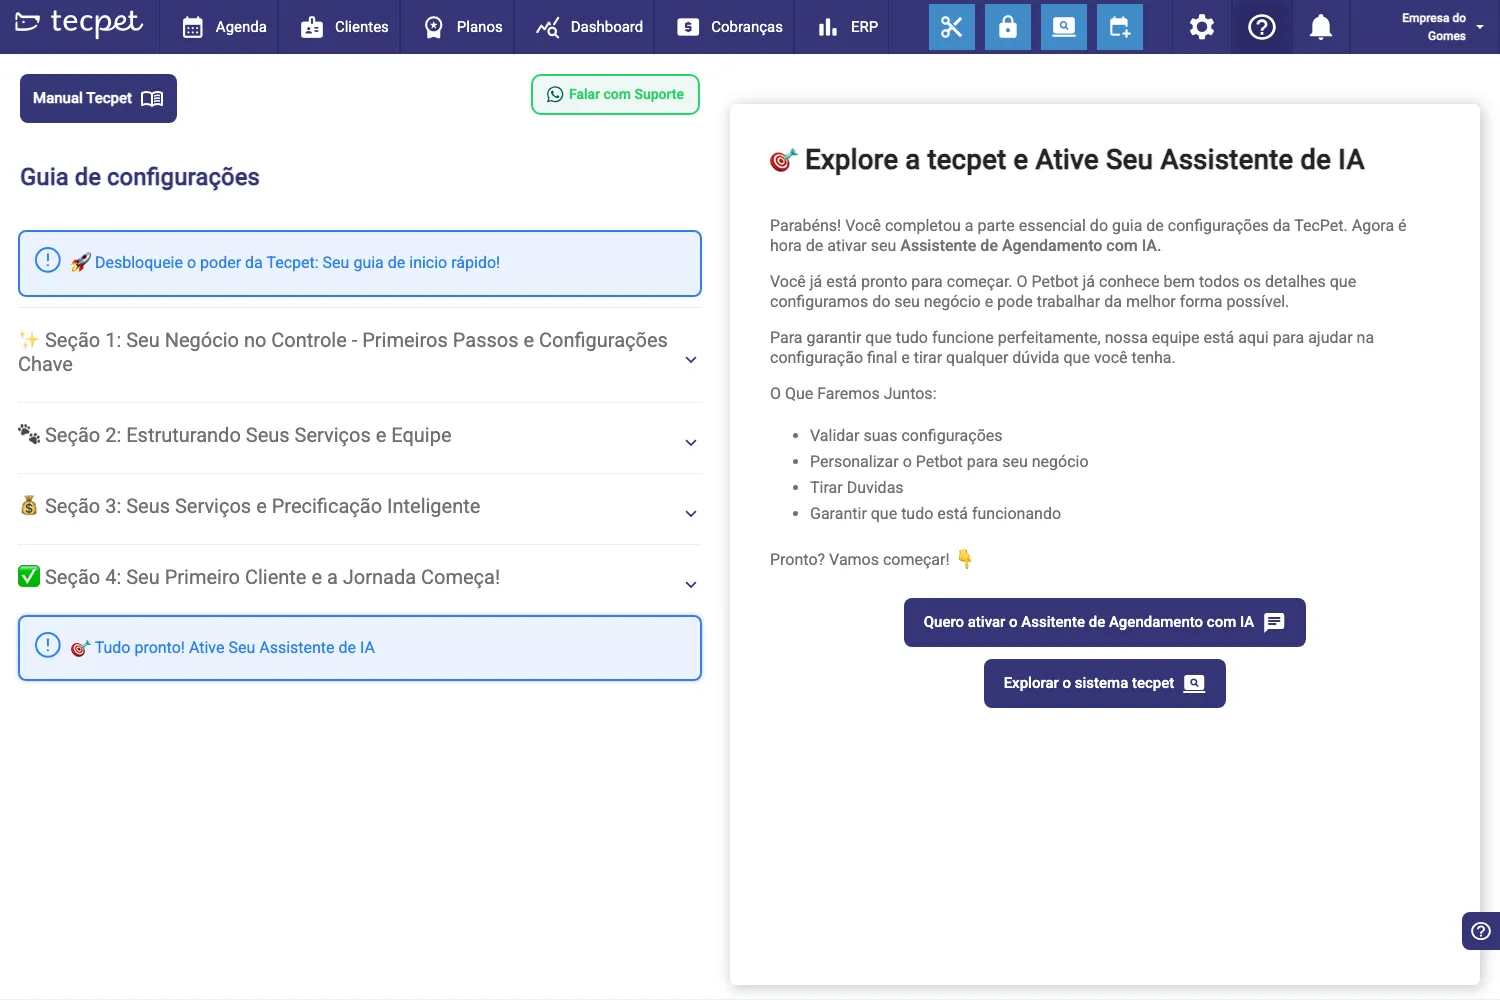
Help center and the Setup guide
Section titled “Help center and the Setup guide”The ❓ opens the Help center, with:
- TecPet Manual — the documentation;
- Contact Support — direct contact;
- Setup guide — a first-use step by step, split into sections (Your business in control, Structuring services and team, Pricing, First customer) up to activating the AI Assistant.
The guide is especially useful for new accounts: it shows what’s still missing and helps get the system ready to operate.