Create a header and footer
The Header and Footer is the letterhead for Pet Care documents: it’s what appears at the top and bottom of every printed prescription, exam or report — with the clinic’s logo, name and details. You create the templates here and, when generating a document, you pick which letterhead to use; a Document template can also come with a default header/footer.
Step 1 — Open the screen and click New
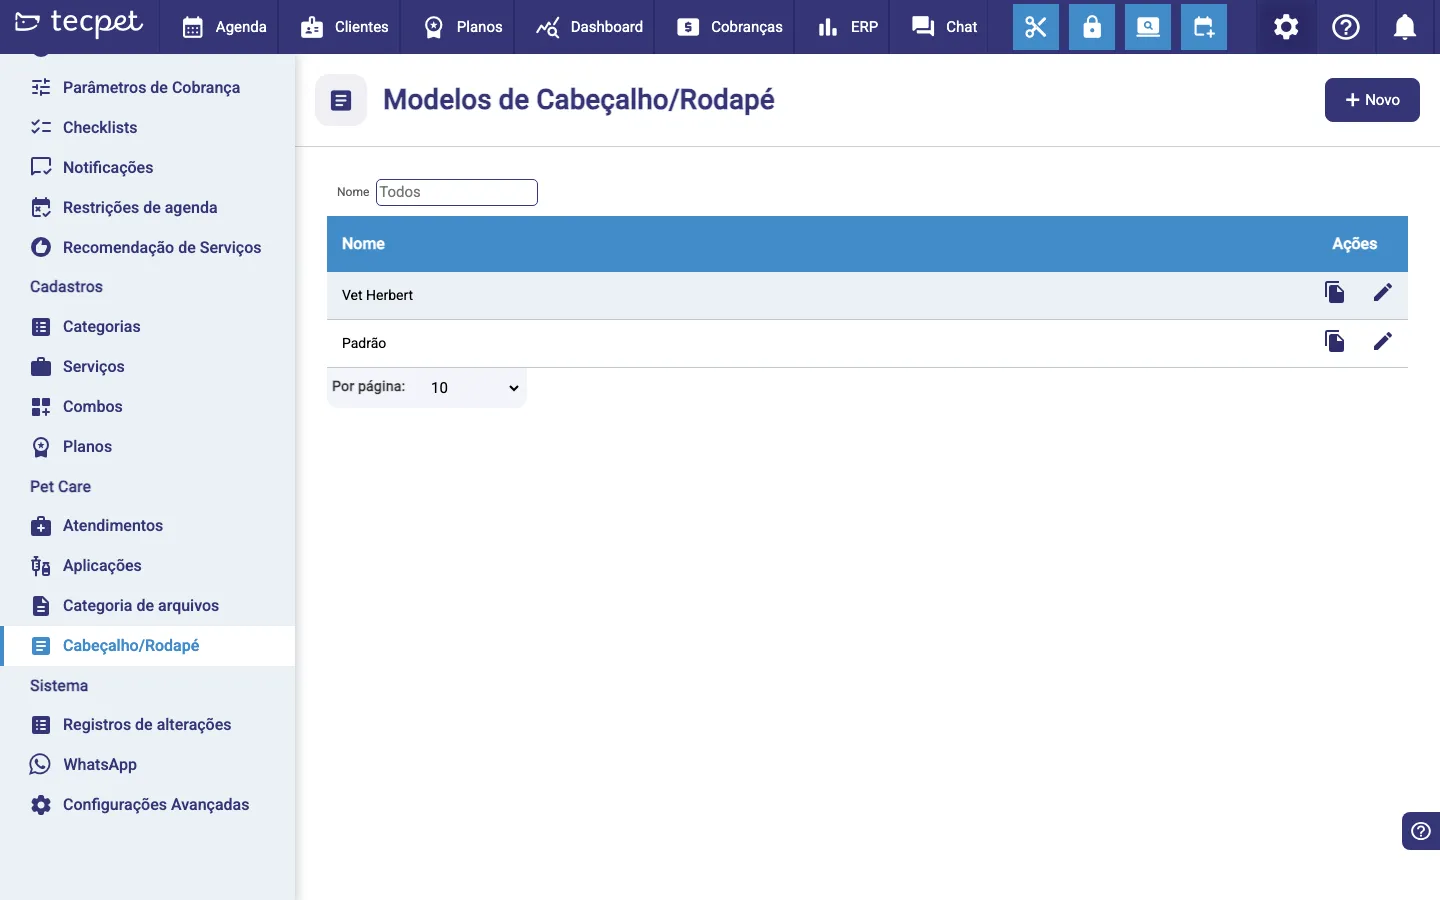
Section titled “Step 1 — Open the screen and click New”Go to Settings → Pet Care → Header/Footer. The Header/Footer templates screen lists the templates you’ve already created (with a Name field to filter). To create a new one, click the New button (with the +) in the top-right corner.
Step 2 — Name the template
Section titled “Step 2 — Name the template”The Header/Footer window opens. In the Name field, identify the template (e.g. “Vet Herbert”, “Default”). It’s by this name that you’ll pick the letterhead later, when generating a document.
Step 3 — Build the header
Section titled “Step 3 — Build the header”Under Edit Header, choose the format for the top of the document. Depending on the chosen format, the window shows the fields to fill in (the text area and/or the space to upload the image). The formats are described in the Header and footer formats block below.
Header and footer formats
Section titled “Header and footer formats”There are four formats, valid for both the header and the footer:
- Text — text only, centered;
- Image — a single image (e.g. the logo);
- Text and Image — text on the left, image on the right;
- Image and Text — image on the left, text on the right.
Depending on the format, you fill in:
- Text — written in the editor; supports formatting and inserting custom fields (Customer, Pet or Staff data) that fill themselves in on the document;
- Image — drag or select the image/logo in the indicated area.
Step 4 — Build the footer
Section titled “Step 4 — Build the footer”Under Edit Footer, repeat the choice: select the format for the footer and fill in the text and/or image the same way as the header. The formats are the same ones from the block above.
Step 5 — Save
Section titled “Step 5 — Save”Click Save. If something required is missing (a name shorter than 3 letters, an image or text required by the format), a warning shows and the save won’t complete. If it works, the template starts showing in the list and can already be chosen when generating a document.
How the header/footer enters the document
Section titled “How the header/footer enters the document”The letterhead is not fixed to a document: it’s chosen when generating the document. When creating a Pet Care document, after picking the document template a Header/Footer selector shows the templates created here. If the Document template already has a default header/footer, it comes pre-selected — but you can switch it before saving. To use Pet Care during service, see Use Pet Care.
How to edit, copy or delete a template
Section titled “How to edit, copy or delete a template”In the Header/Footer templates list, each row has two action buttons:
- Edit (pencil) — reopens the window with everything filled in; change what you need and click Save. This is also where the Delete button appears, which removes the template;
- Copy (two-sheets icon) — instantly creates a copy of the template, with the same content and the name followed by ”- Cópia”. Use it to create a variation without building everything again.